Jobs act as the central hub for Tickets, Timesheets, Purchase Orders, Change Orders, Documents and budget benchmarks. Authorized users can monitor job progress, review forms, manage crew schedules and relay information to mobile users.
How to Create a Job
Navigate to the Jobs tab in Aimsio and click on New Job Order on the upper right.
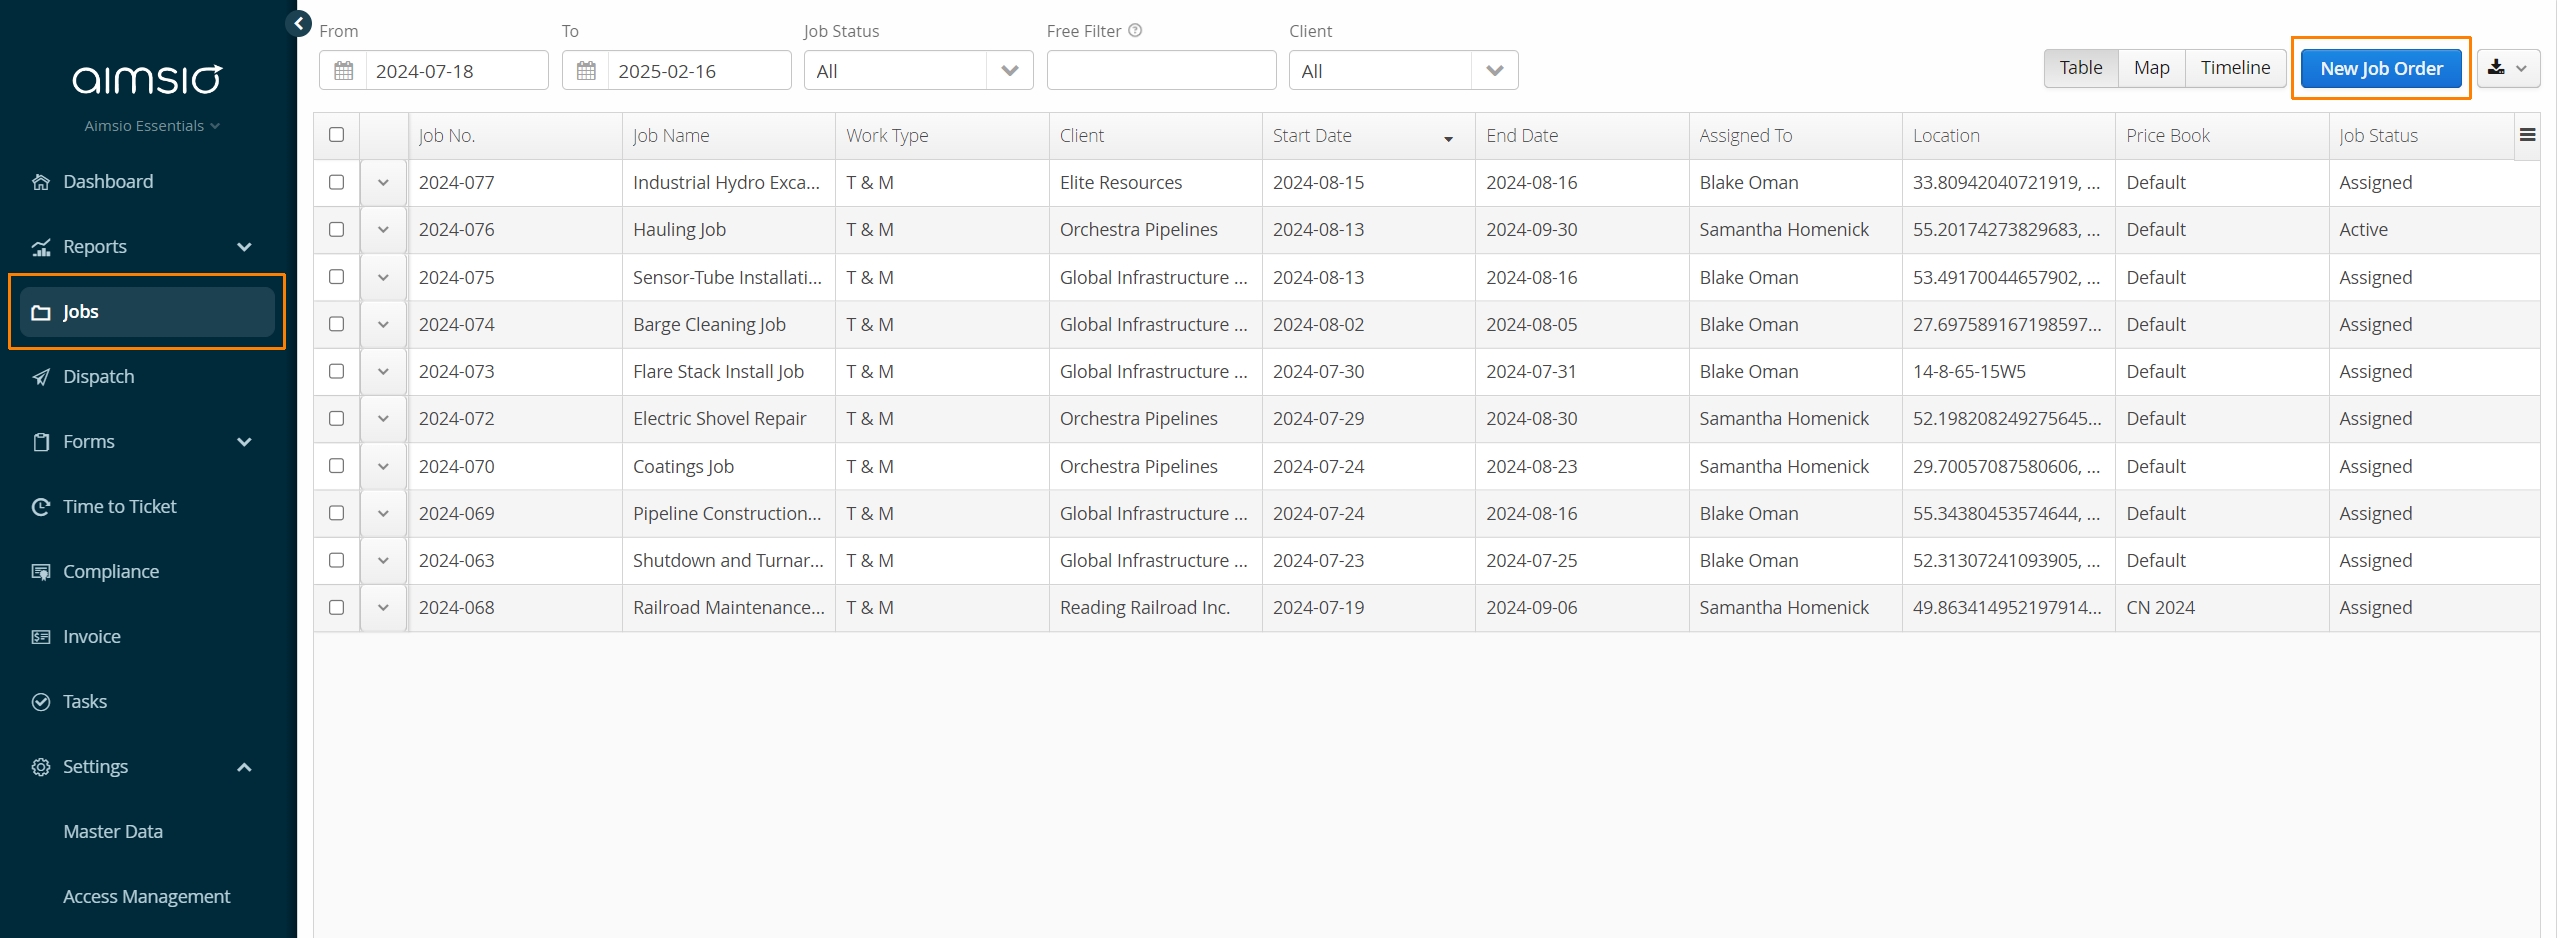
- A window will popup, asking for information related to the job. By default, fields highlighted in red are required.
All Jobs require a Client, Start Date and Price Book.
- A Job Number is automatically assigned upon creation of the job.
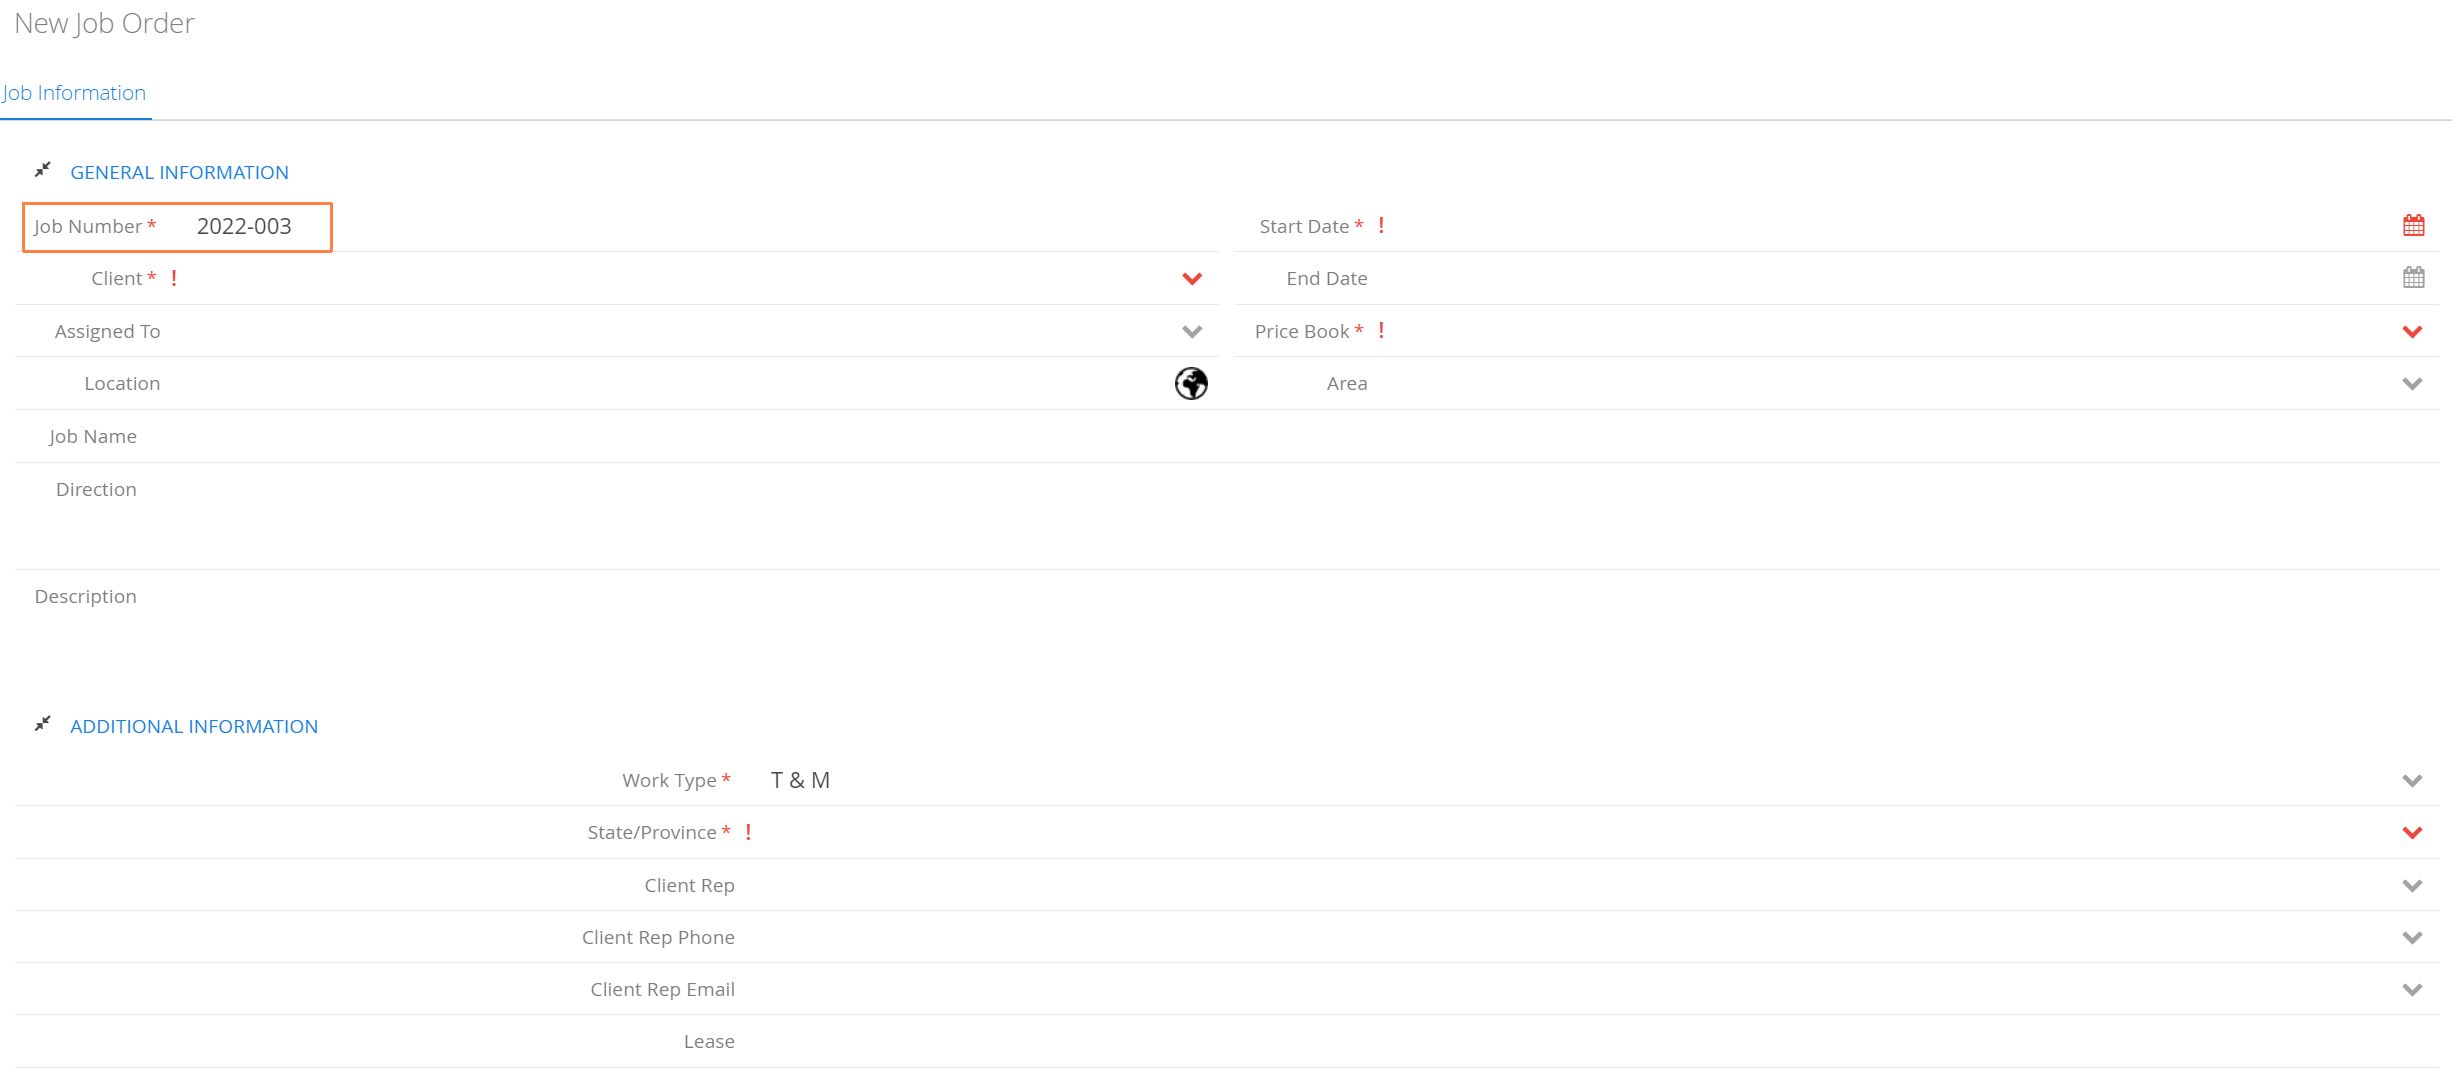
Every Job requires a unique number and it cannot be changed after the Job is created.
Job Creation on Mobile
Aimsio supports the creation of Jobs using our iOS or Android apps, but this feature is disabled by default. Accounts that want to enable this feature should consider the following:
To prevent duplicate Job numbers from appearing in your account and to properly track which devices are creating Jobs, Aimsio will need to include the ‘Device ID’ as part of the Job number. This will impact the length of your Job numbers and subsequently the Job-related forms created under that Job.
If you’d like to enable Job creation on mobile, please reach out to our support team for assistance.
How to Change Job Number
Job numbers cannot be changed after a Job is created, but a Job can be duplicated and given a different number. If you’ve created the job and require a different job number, use the action button beside a Job on the Jobs page to Duplicate the job.
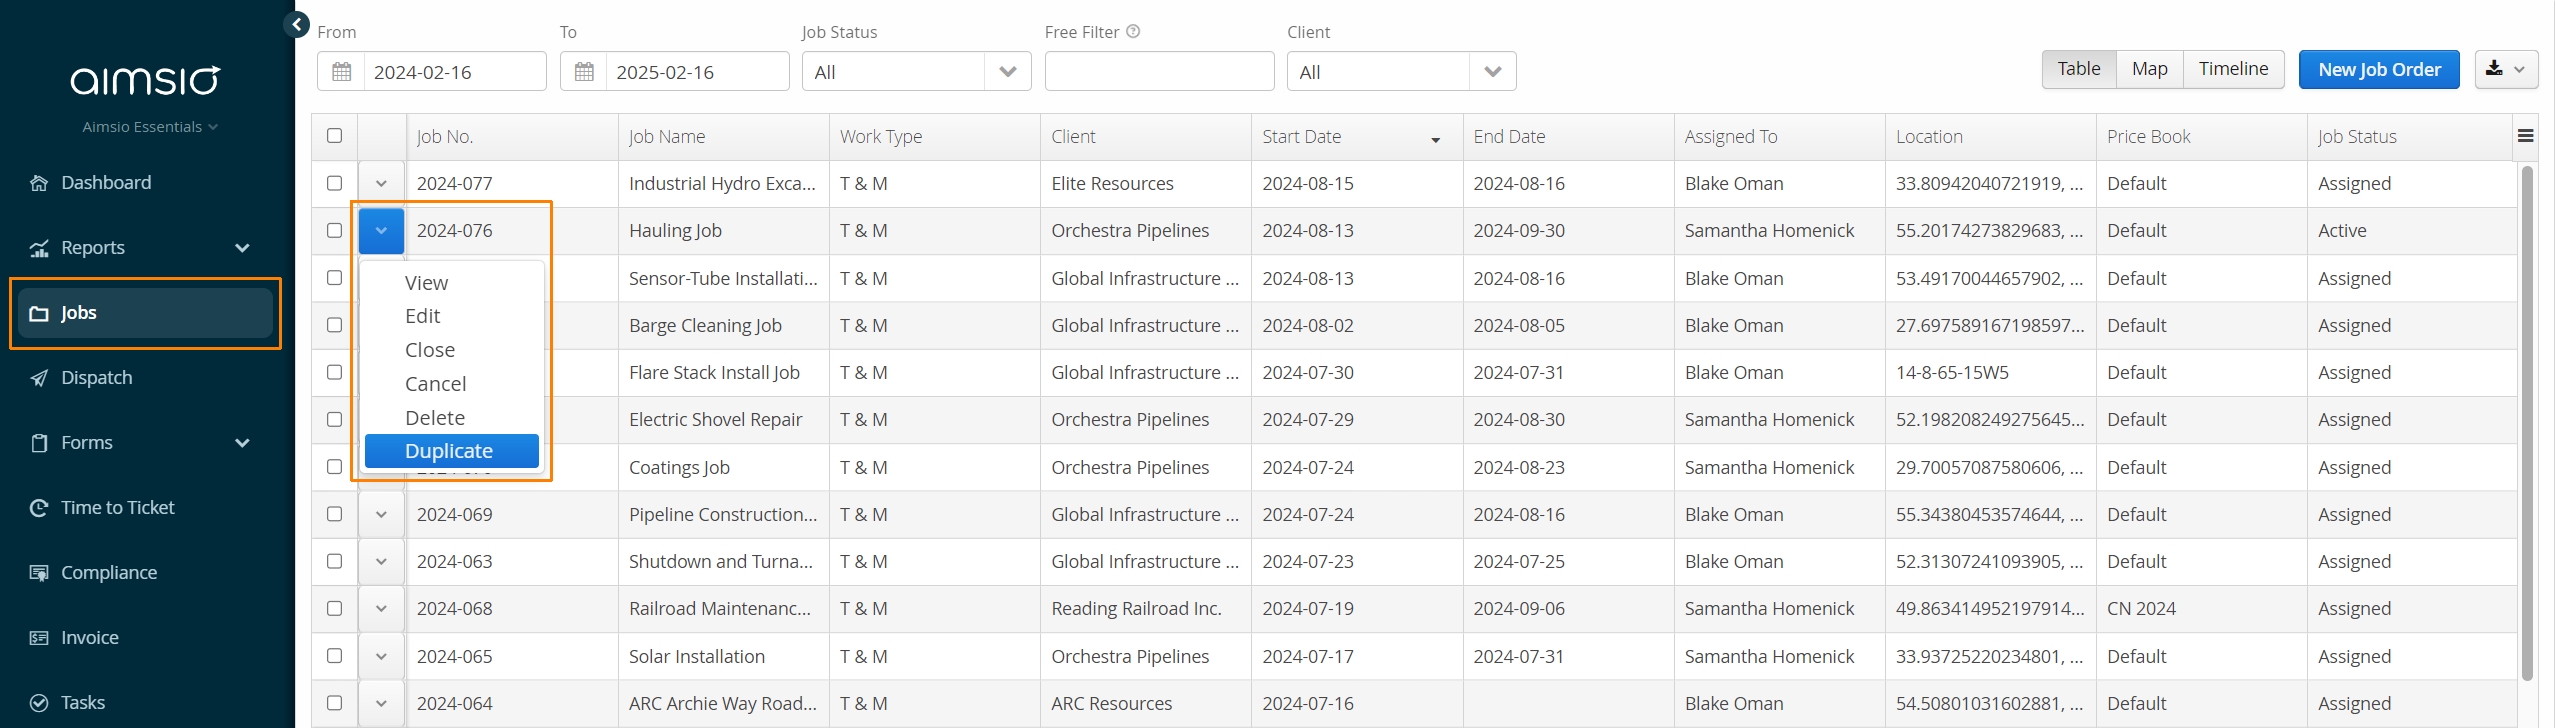
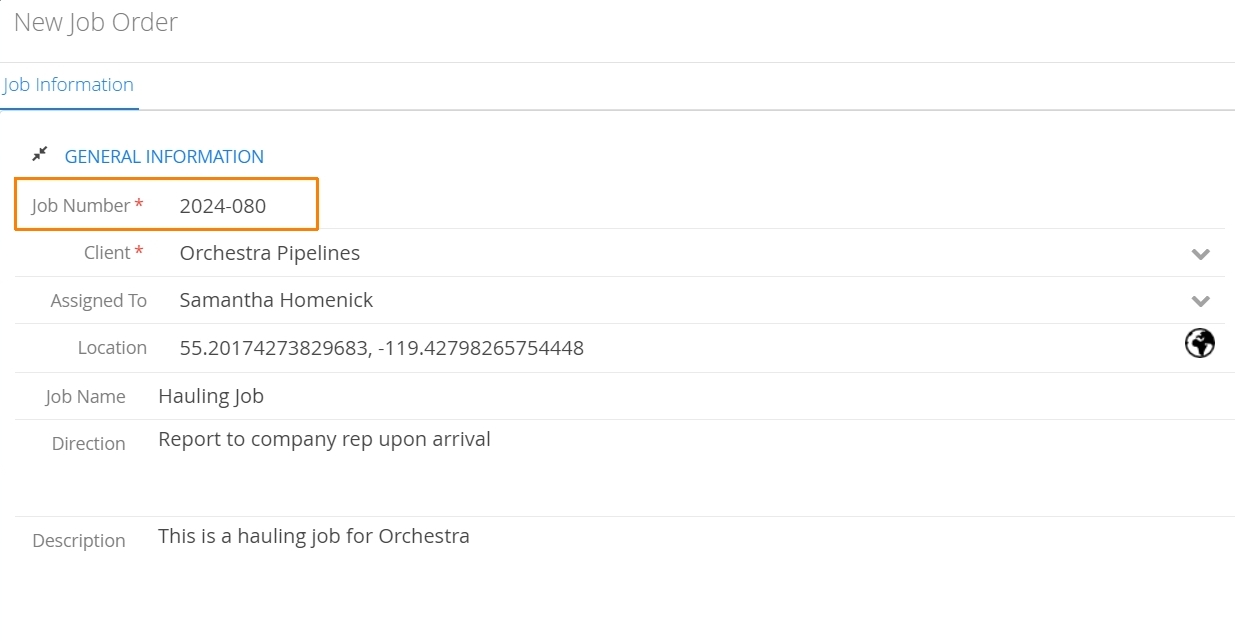
Change the Job number before saving the new Job. Authorized users can Delete the previous Job.
It’s not possible to change the Job Number during the completion of a form, but Change Orders, Tickets and Purchase Orders can be duplicated under a different Job. If a form has been completed for a Job with the wrong number or Client, users can duplicate completed forms to a new Job. Review Aimsio’s Form Fundamentals guide to learn more.
How to Delete a Job
To Delete a job, use the Action button beside the job on the Jobs listing page.
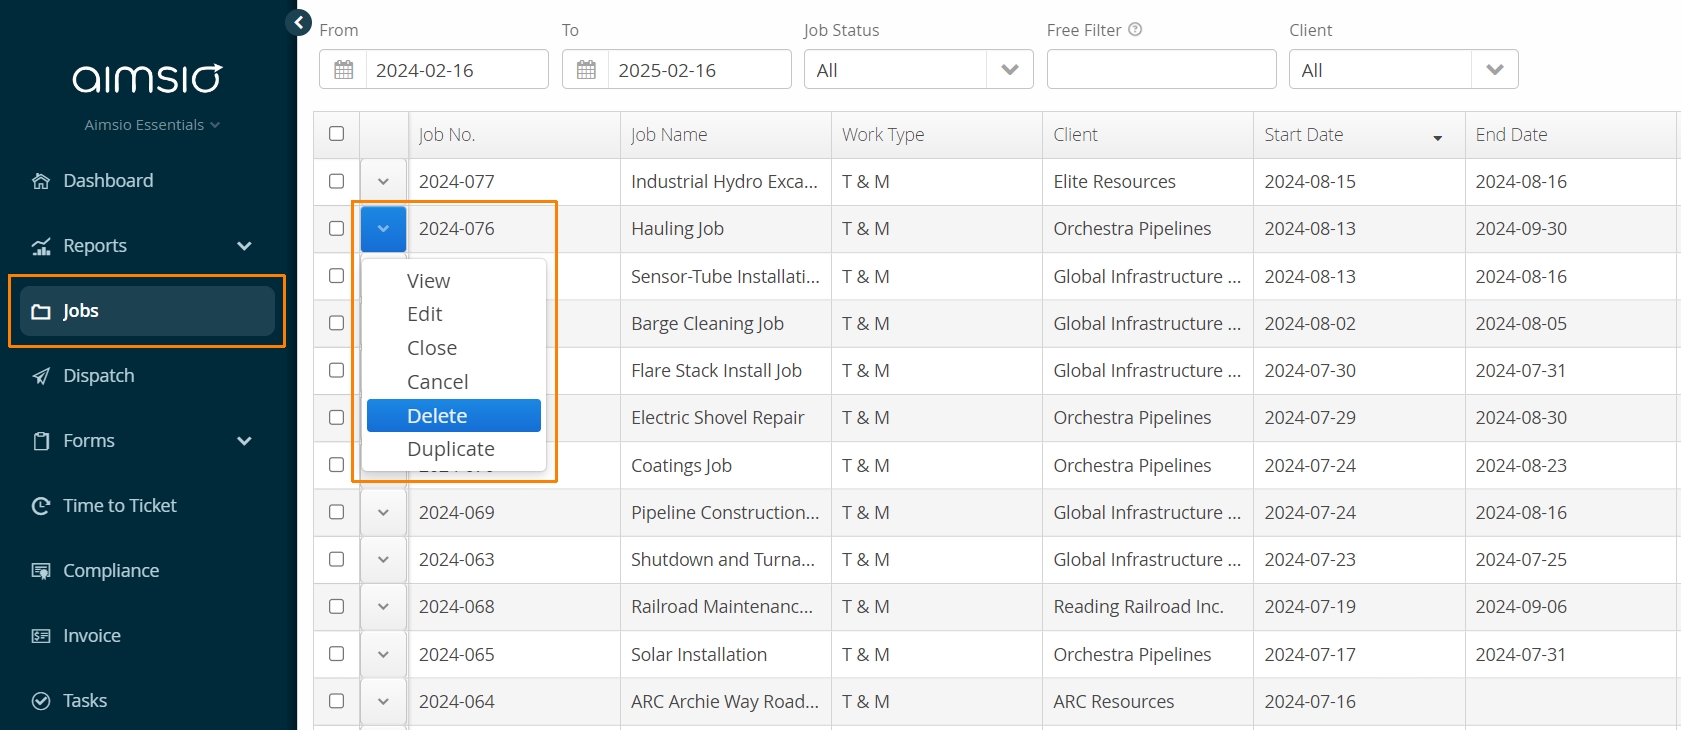
- Deleted jobs will still be accessible by using the Job Status filter at the top of the page.
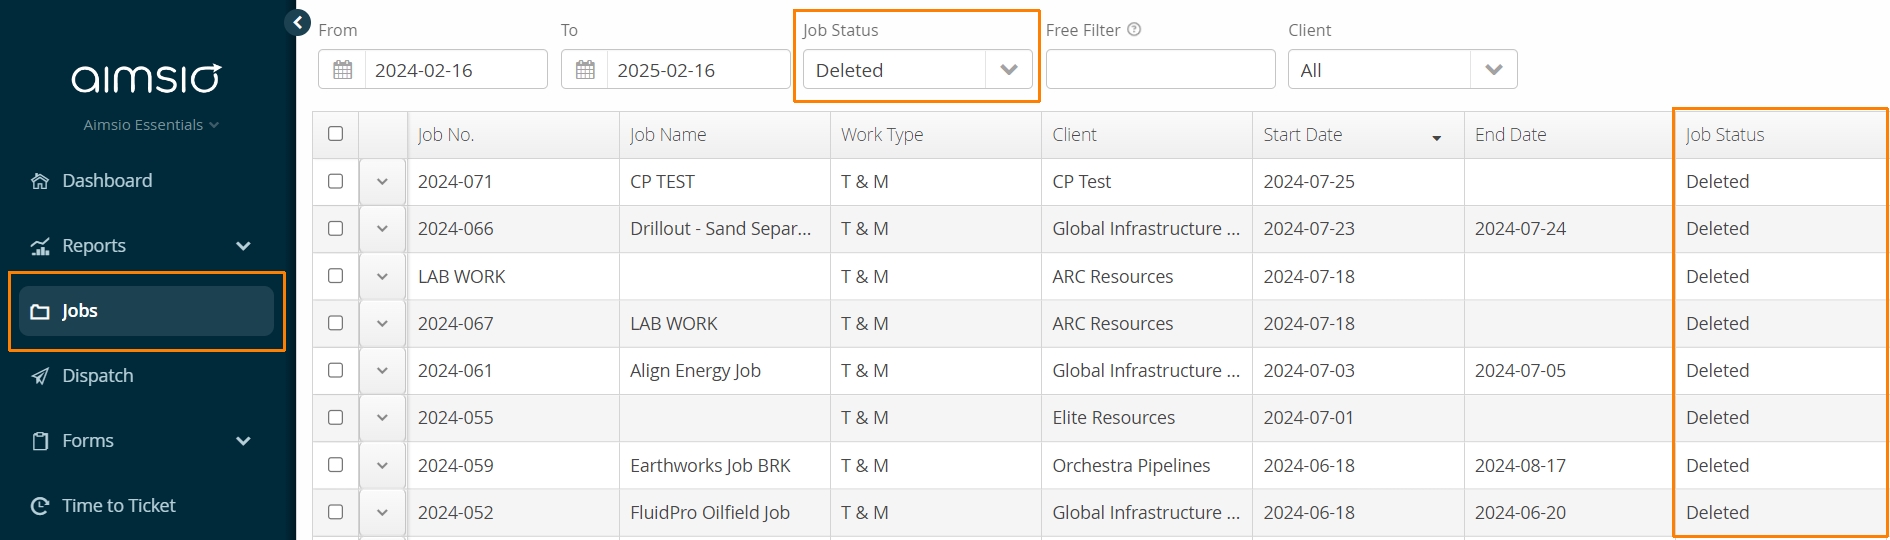
For more information on deleted items see: How to find Deleted Items in Aimsio.
Job Statuses
Jobs in Aimsio can have the following statuses: Unassigned, Assigned, Active, Finished, Cancelled and Deleted.
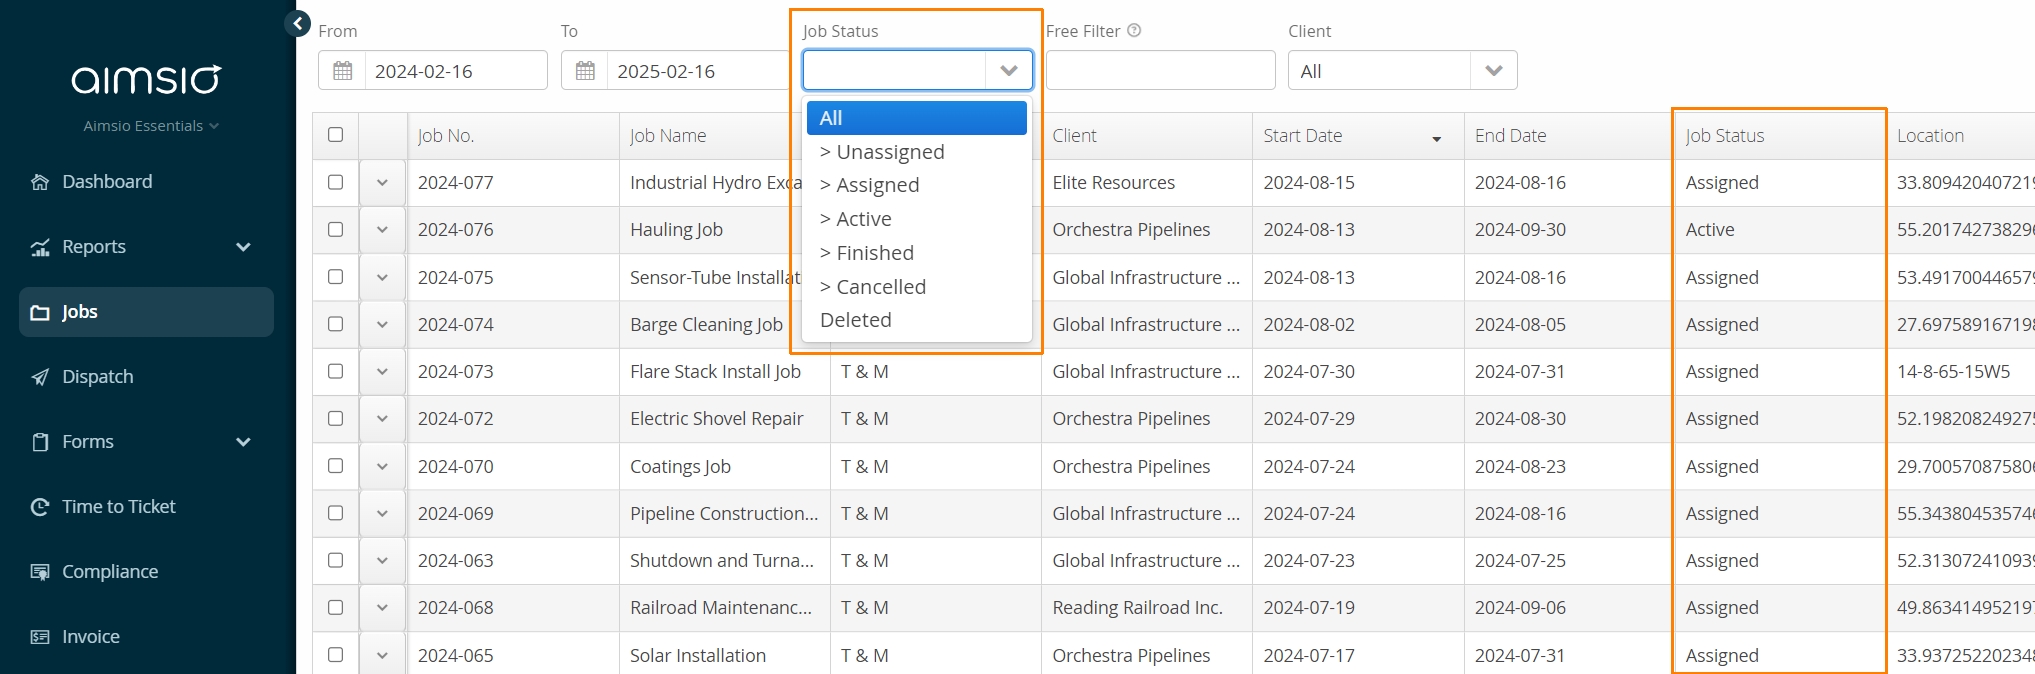
Job Status: Assigned / Active
Once a Job is assigned to a user, Aimsio will automatically send them an SMS notification. The user is invited to text the job number back to Aimsio to confirm their assignment. On doing so, the status of the job will change from Assigned to Active.
Use the ‘Assigned To’ field on the Job form to assign a user to a Job. A phone number is required in the User/Employee profile in your Master Data settings.

Job Status: Deleted
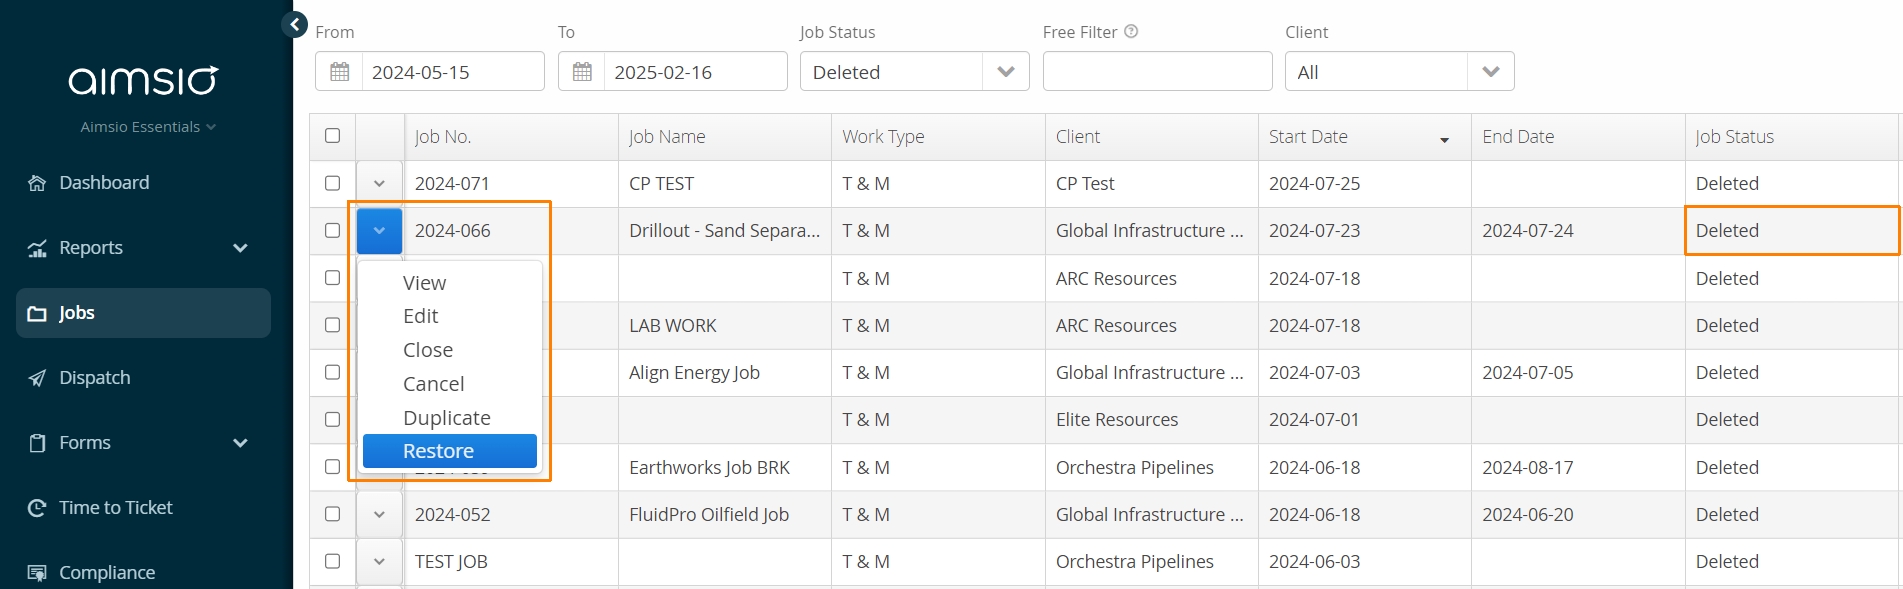
Once a Job is deleted, it will no longer show up on the pages page, but it can be restored using the ‘Restore’ action to flip it back to Active/Assigned.
Job Status: Cancelled
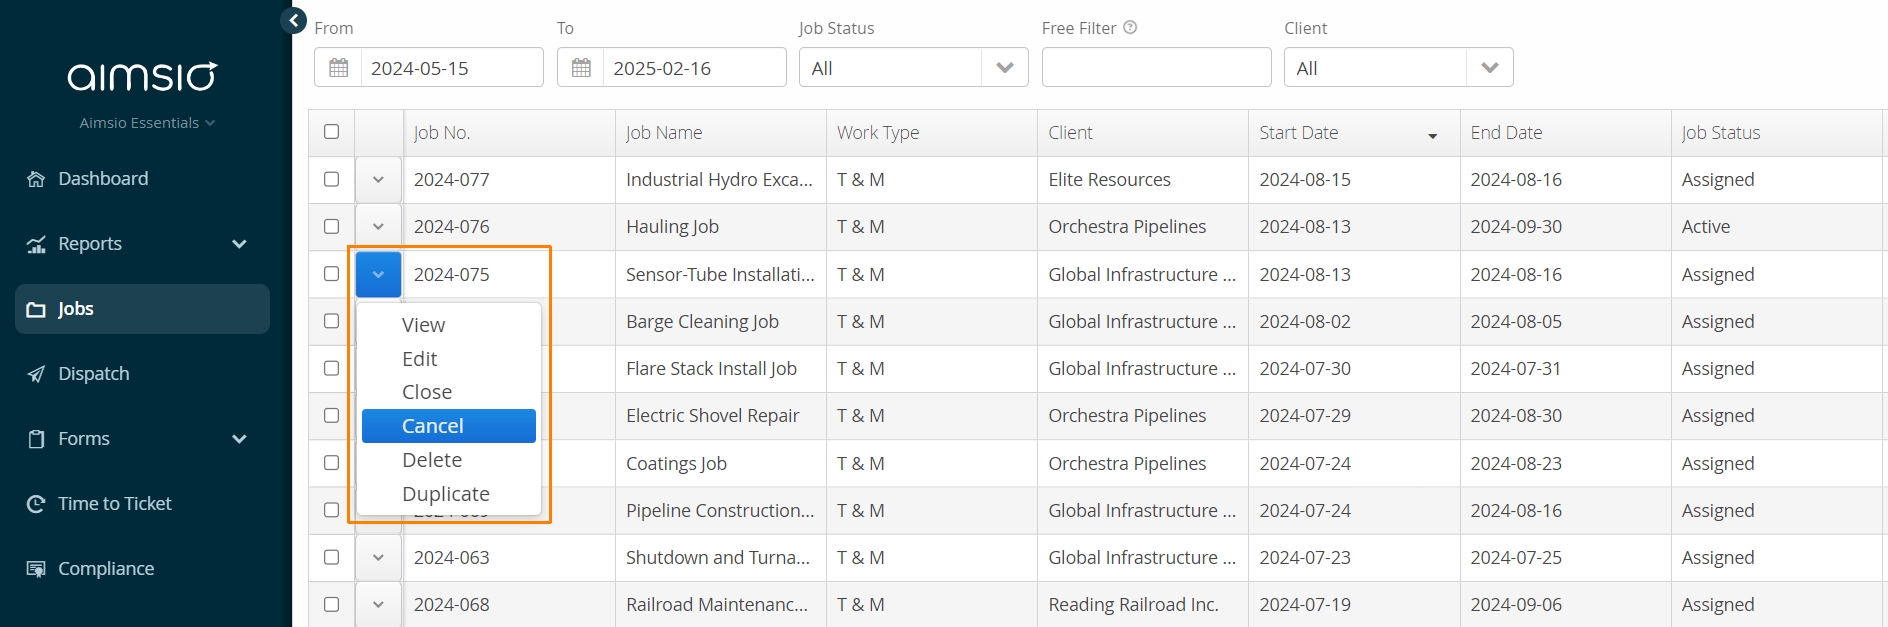
If a Job is cancelled by your client for any reason, you can disclose that by changing the status to ‘Cancelled’ using the ‘Cancel’ Job action. If the Job is no longer cancelled, users can use the Duplicate action to copy the contents of the previous Job form and create a new one. Any Job-related forms (Tickets, Timesheets) created under the Job will not carry over when duplicating a Job.
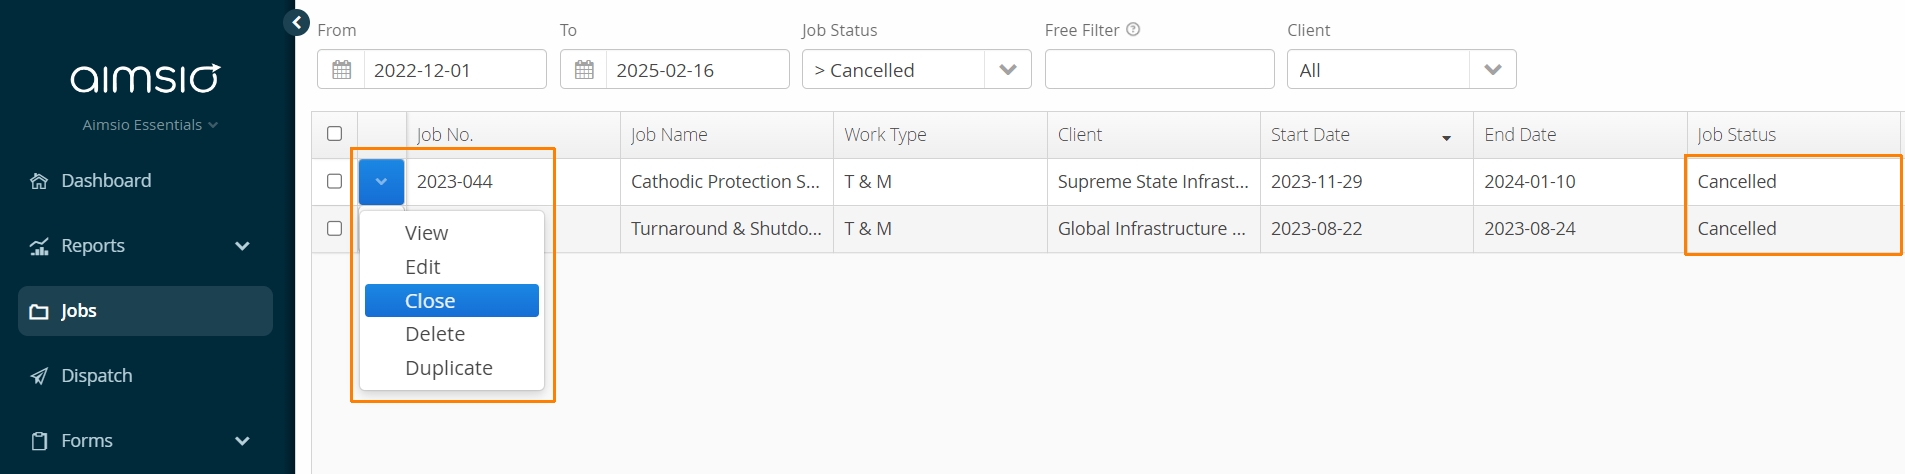
If a Job was inadvertently cancelled, use the “Close” action to change the Status of the Job to ‘Finished’, then use the Re-open action to bring the status of the Job back to Active.
Job Status: Finished
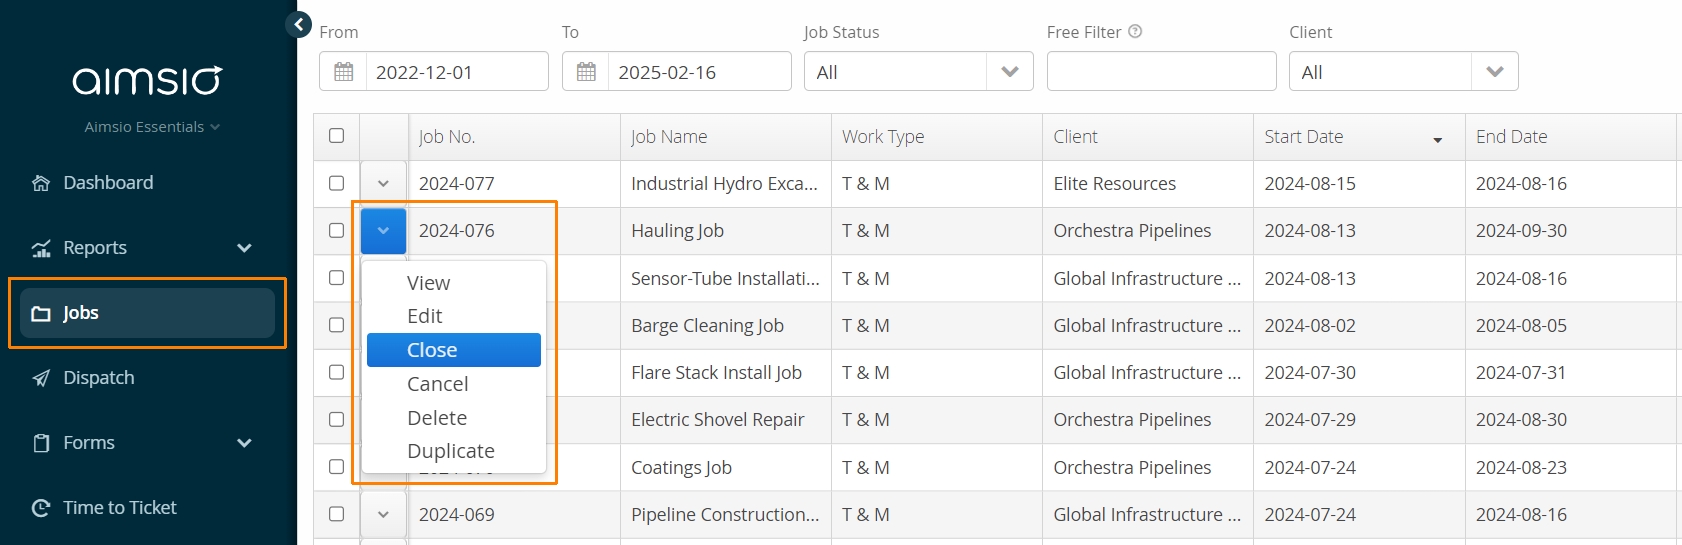
Using the ‘Close’ action from the Jobs page will change the job status to Finished. Once the job is closed, it will no longer show up in other parts of the system (e.g. Dispatch or any job-related drop-down menu). Finished jobs can be re-opened using the ‘Re-open’ action.
General Job Information Fields
-
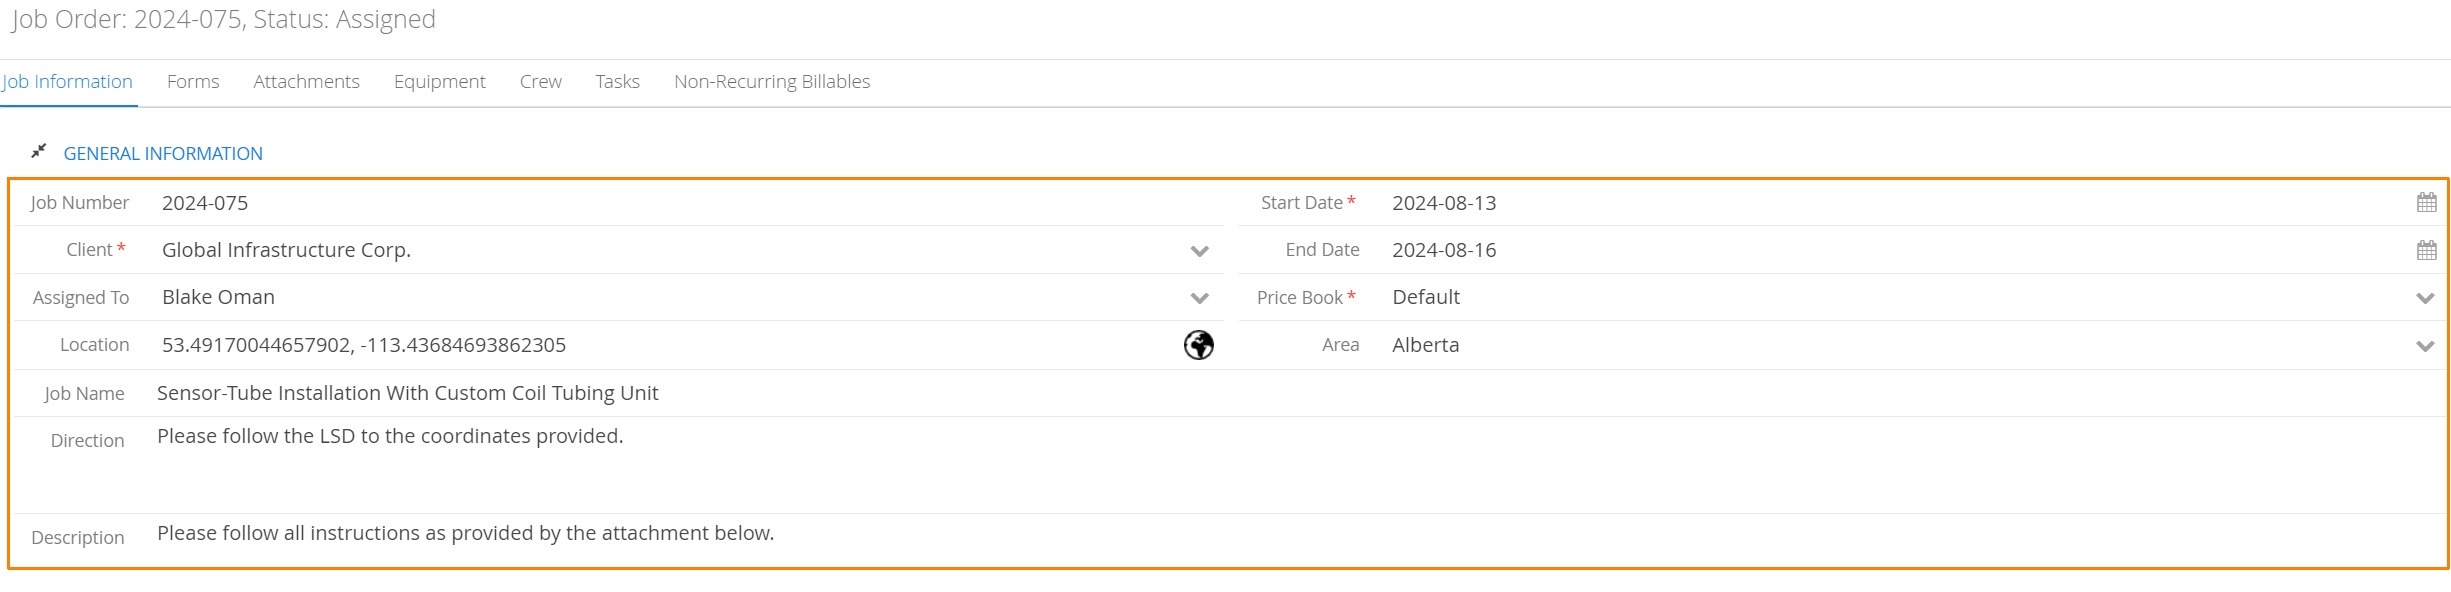
Assigned To: Jobs can be assigned to a supervisor, who is then permitted to log their team’s progress on a Ticket or Crew Timesheet using Aimsio’s mobile app. It’s also possible to sort Jobs by this field while using our Dispatch Job Board.
-
Job Name: If you prefer to give the job a unique name, define it here. This name can take priority when Employees are searching for jobs on Timesheets.
-
Price Book: Only one Price Book can be attached to a Job at a time. This controls the charge-out rates on all Tickets.
Additional Job Information Fields
We provide additional fields on a Job form to track accounting-related information like AFE (Authorization for Expenditure), Cost Center, Major and Minor. These fields can often be pulled directly onto a Ticket during creation.
Client Rep fields are Contacts that have been linked directly to a Company. These Contacts are managed in your Account Settings, under the Master Data > Contacts tab.
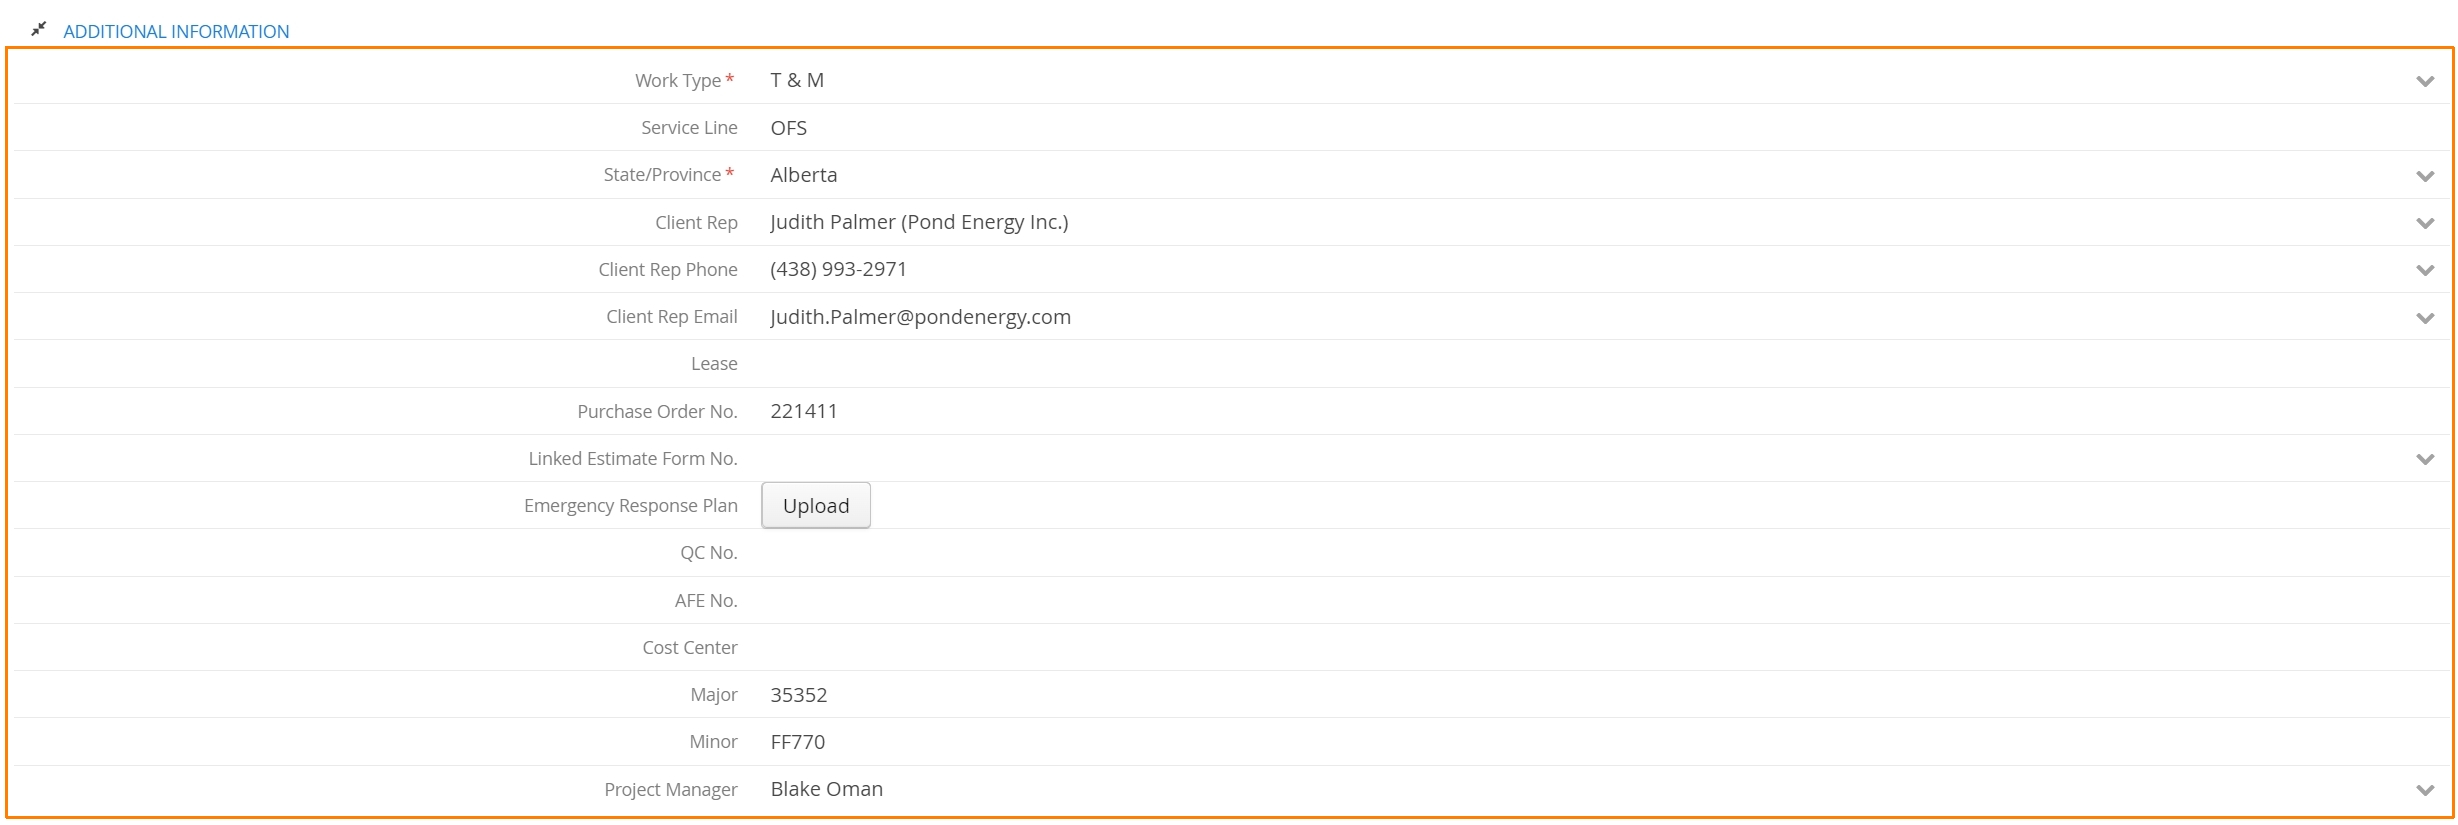
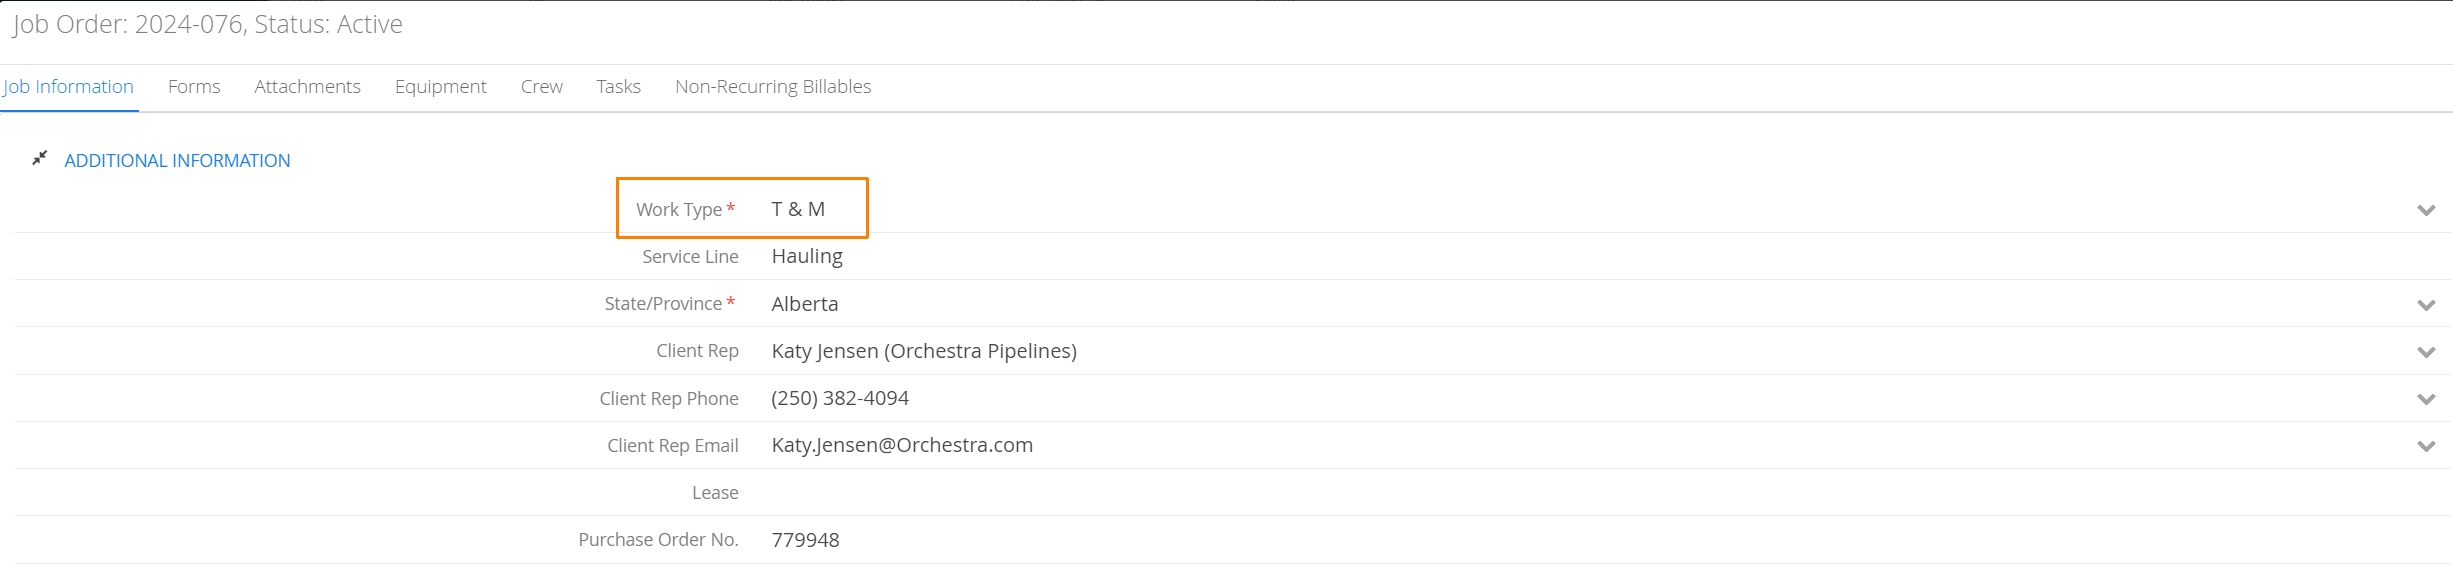
Work Type
Aimsio supports both Time & Material (T&M) and Lump Sum (Fixed Price) Jobs. The approach for each Work Type is typically handled during the billing process.
On a T&M Ticket, Labor, Material and Equipment items are recorded as Billable.
On a Lump Sum project, Labor, Material and Equipment items are tracked, but the costs are hidden (marked as Non-billable on the Ticket). The billed amount is typically presented as a lump sum, per period (daily/weekly), via Unit or Service billable item types.
- For more information see: How to Handle Lump Sum Billing
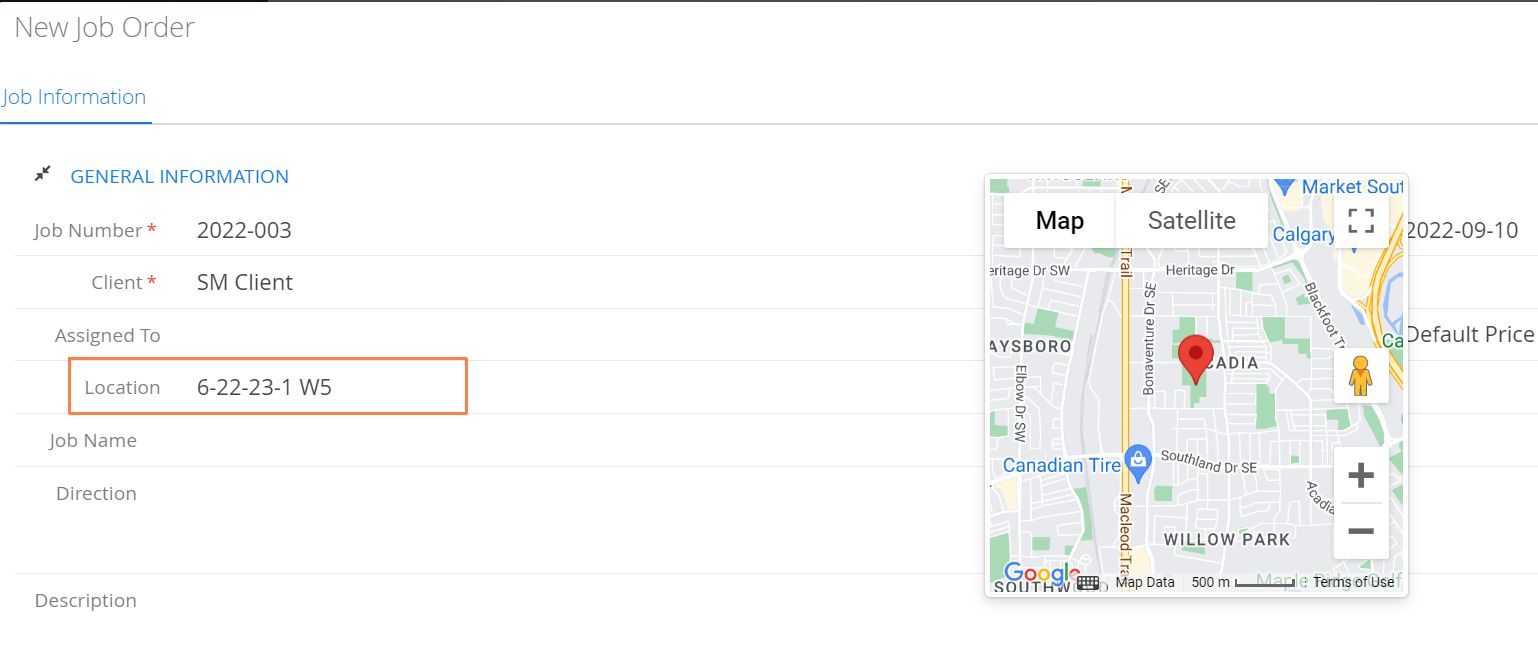
Job Location
Aimsio supports the ability to include a LSD (legal subdivision), or address on a Job using the Location field.
Users on both the web and mobile app will have a map icon available when viewing job information, allowing them to pull up the exact location of the job site via Google Maps.
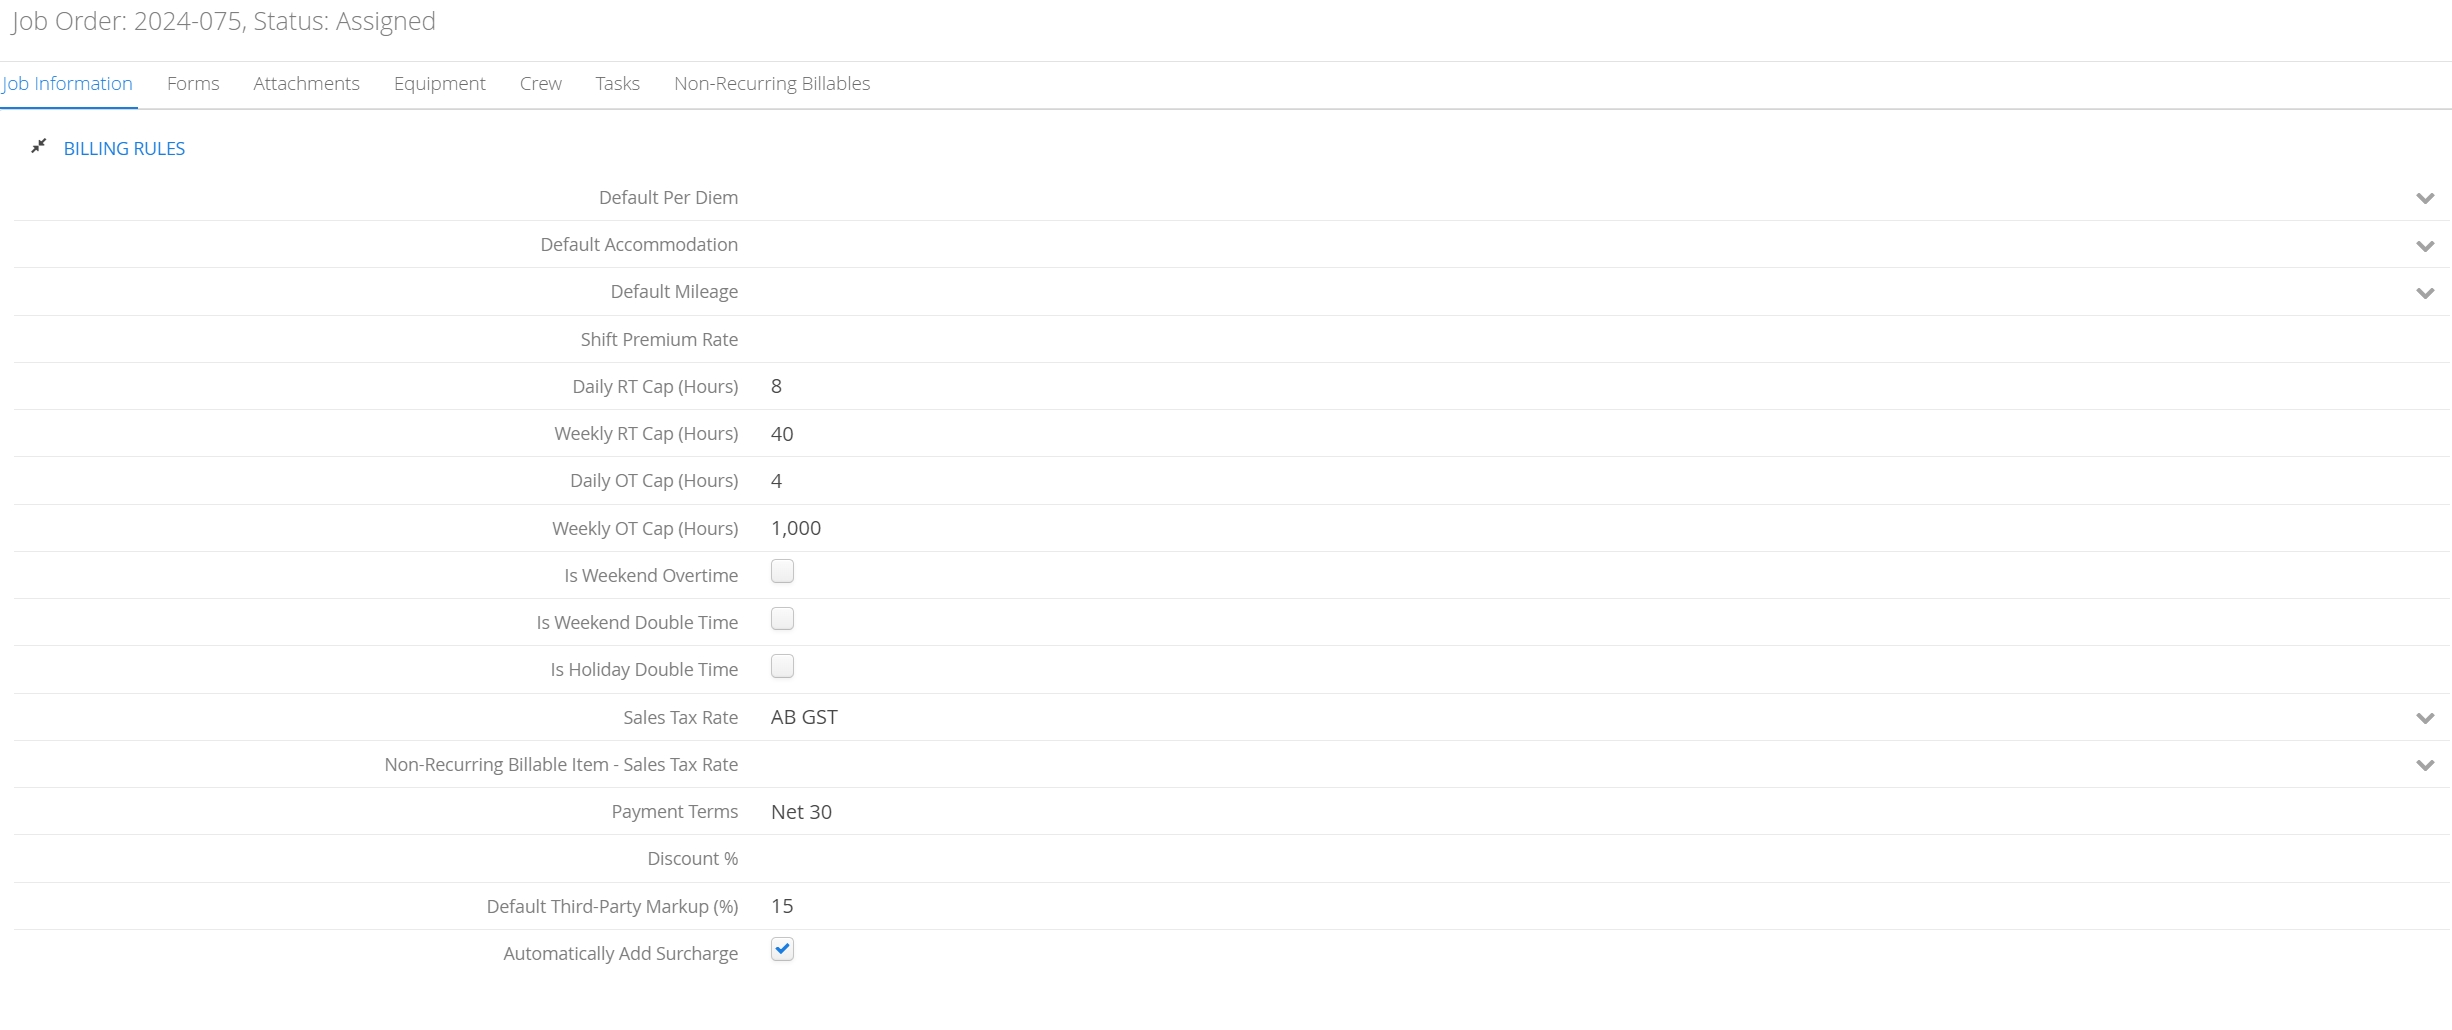
Billing Rules
There are default parameters that can be set at the Job level that impact how Time to Ticket functions during billing. These parameters are set in the Billing Rules section of a Job form.
Setting a Default Per Diem, Accommodation or Mileage item (if applicable) will have these values selected by default when any Labor is added to a Ticket.
Daily and Weekly OT caps influence how Timesheets split out hours when they are converted into a Billable Ticket. For more information see: How to Convert Timesheets to Tickets
Job Tabs
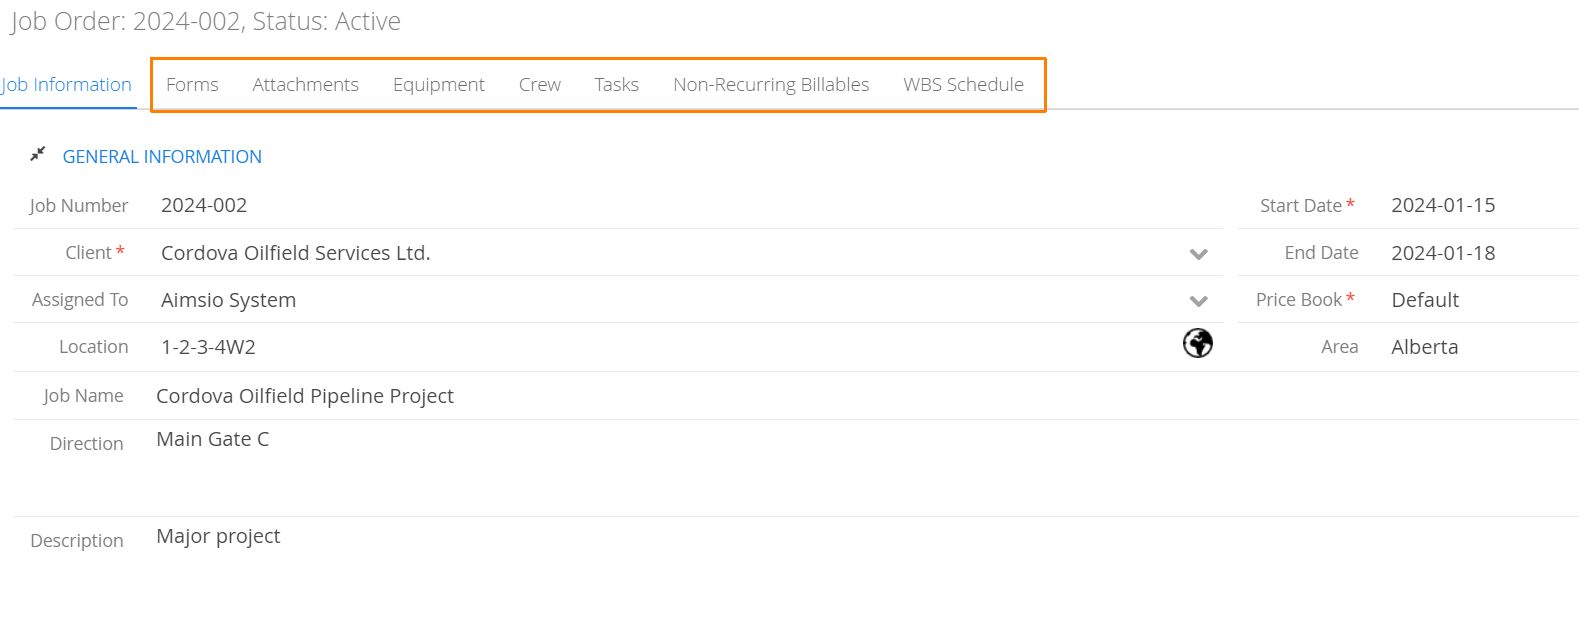
Once a Job has been created, open the Job and you’ll find a series of tabs where additional information is stored.
Tabs include: Forms, Attachments, Equipment, Crew, Tasks, Non-Recurring Billables and WBS Schedule.
Job Forms
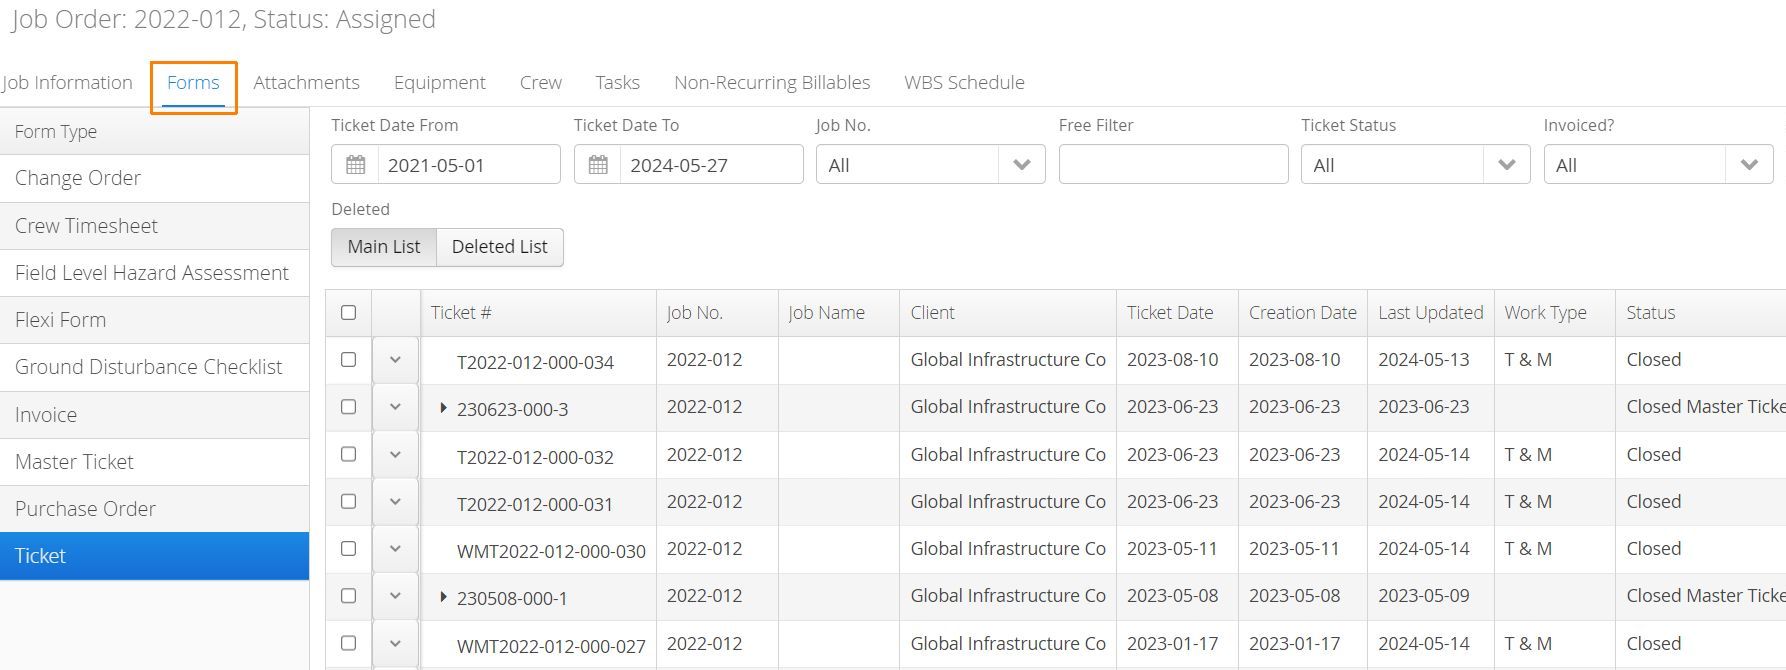
All Job forms will be accessible via the Forms tab while viewing a Job. You’ll find both open and closed Tickets, Crew Timesheets, Purchase Orders, Safety Forms and Change Orders. Authorized users will have the ability to view and edit forms from this location.
Job Attachments
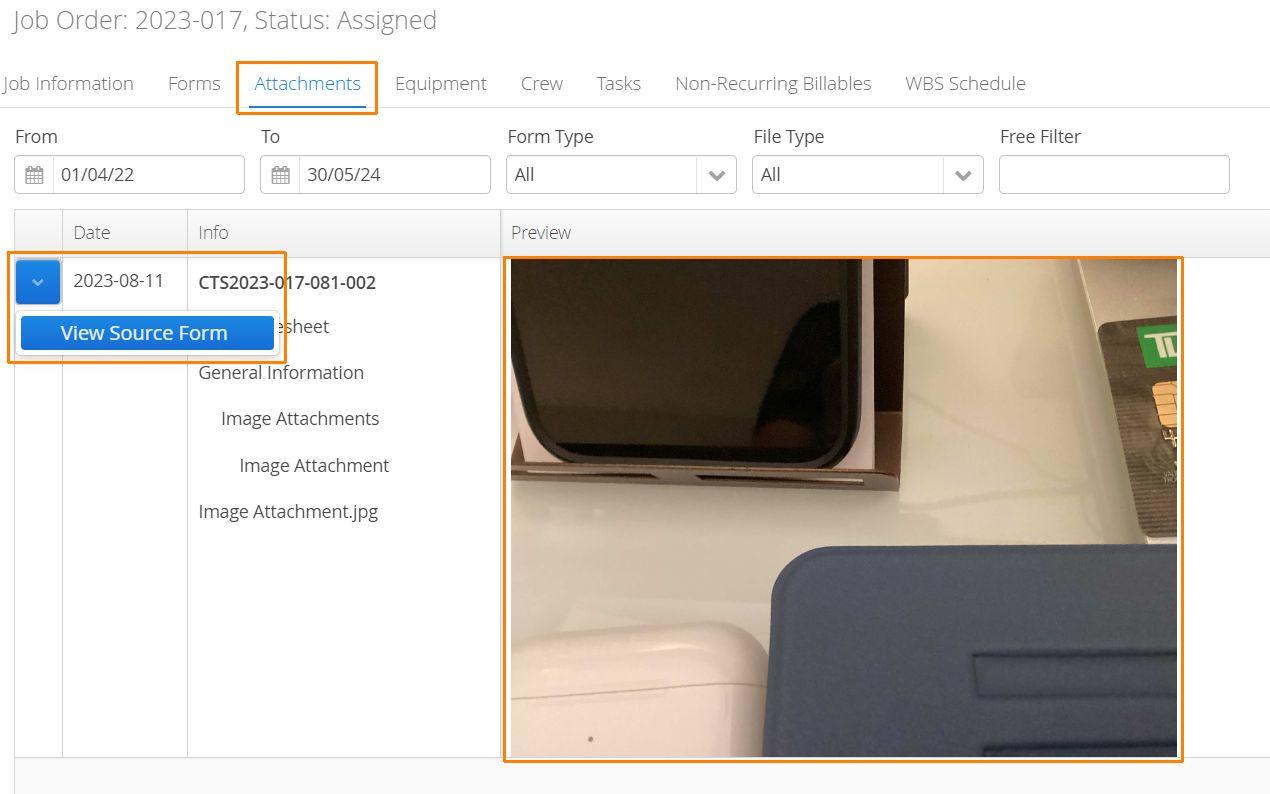
Any Image (JPG or PNG) or PDF attachment included on a Job-related form will be accessible via the Attachments tab under a Job. In other words, any attachment included in forms located in the Forms tab will be visible.
Tap on the Preview thumbnail to see a full-size version of the attachment. Users can filter for specific Form Types or File Types and use the action button to access the original source form where the image was uploaded.
The ‘Attachments’ tab does not include attachments that have been uploaded directly to an Invoice, Job or Non-Recurring Billable (NRB).
Job Crew & Equipment
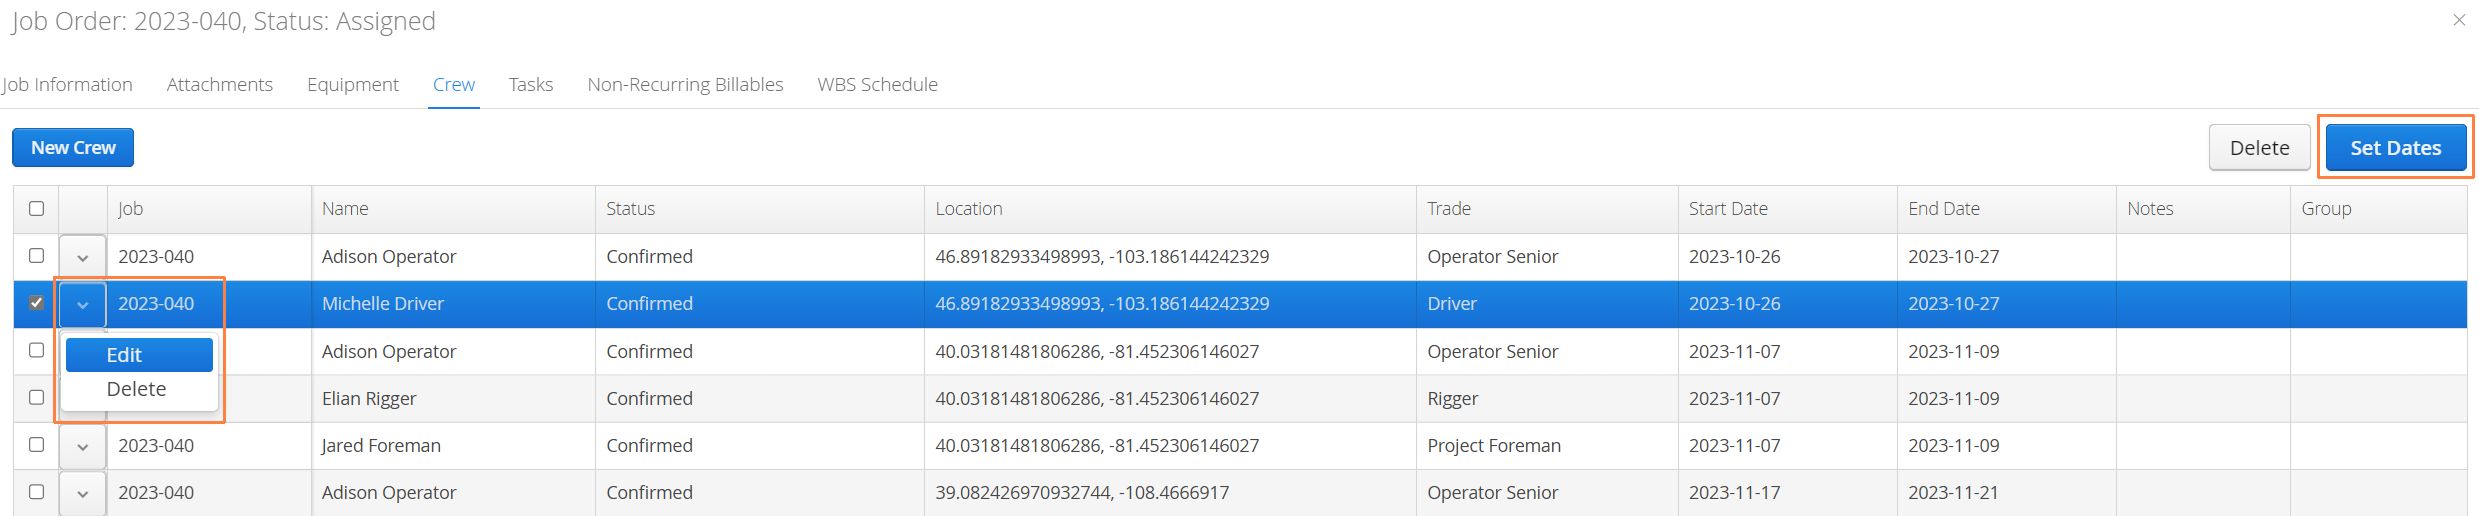
The Crew and Equipment tabs on a Job will display any Dispatched resources (Employees and Equipment) along with their scheduled dates. If Dispatch is not enabled in your account, authorized users can manually add Employees and Equipment to the Job by using the New Crew or New Equipment buttons.
- Authorized users can also adjust the dates of assignments by using the Action button to the left of a resource and selecting Edit. Alternatively, users can select a resource and use the Set Dates button. Users can also remove scheduled resources using action button and selecting Delete.
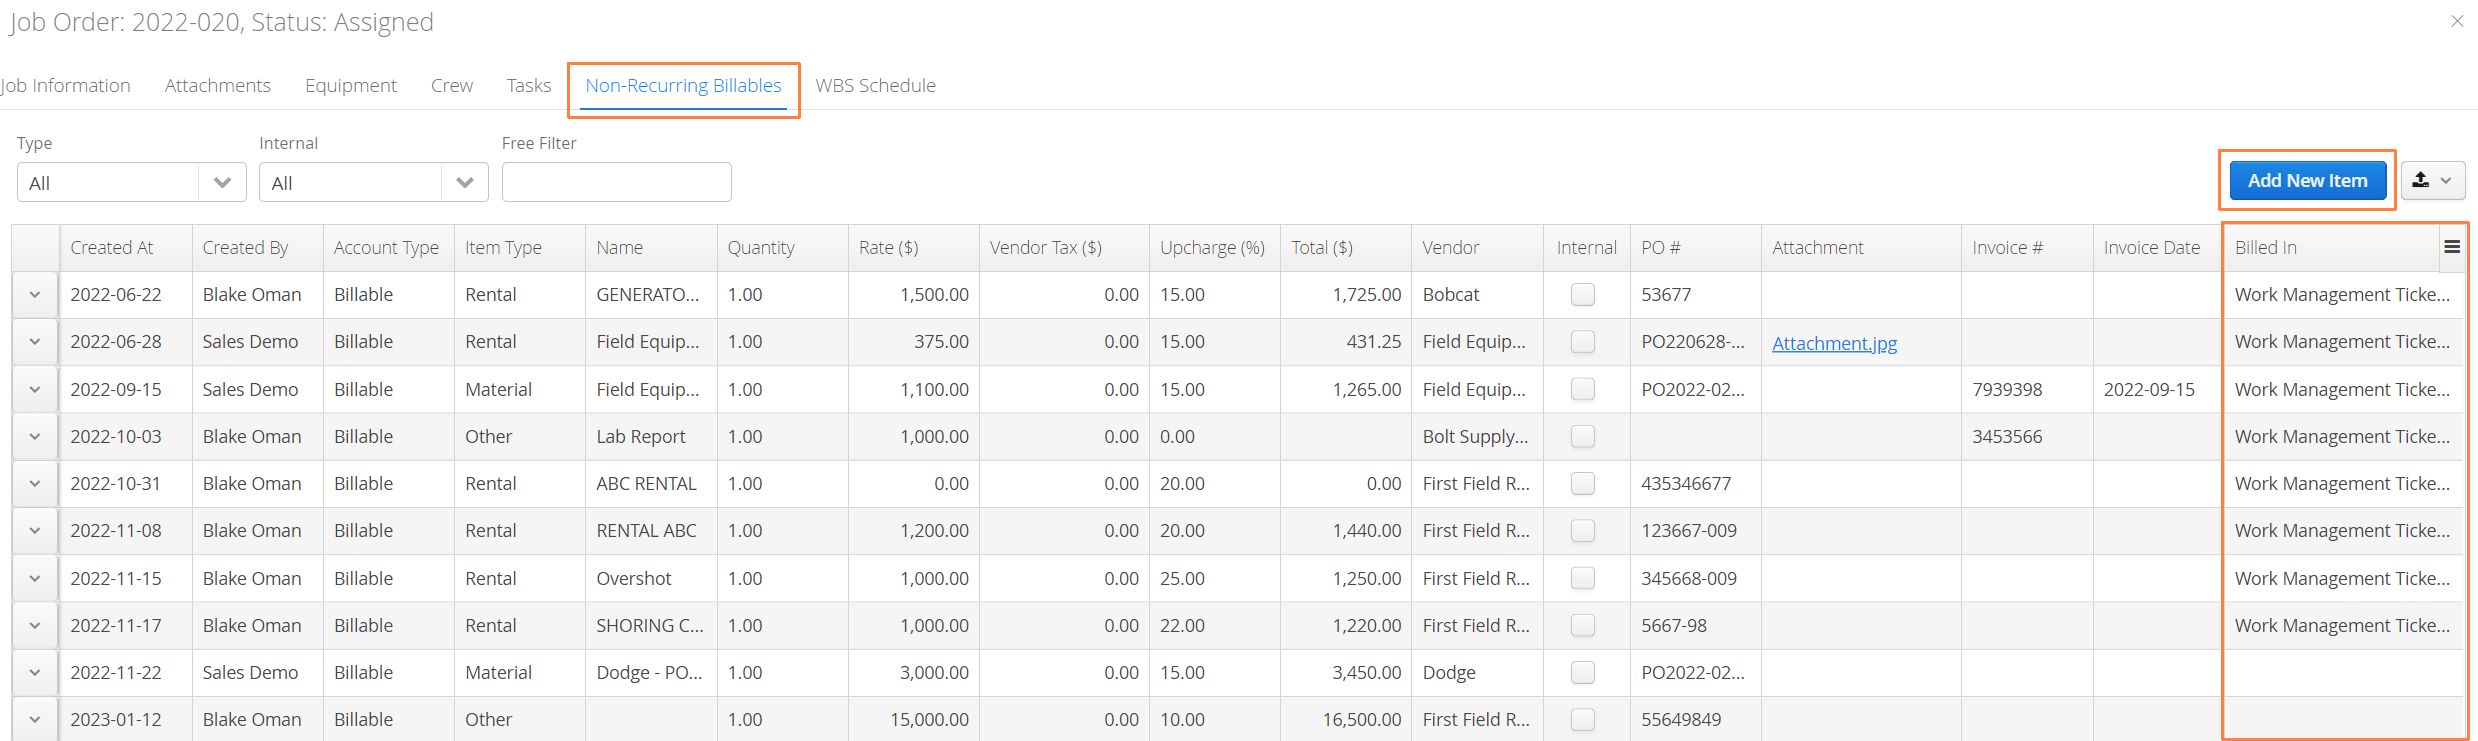
Job Non-Recurring Billables
Received Purchase Order items will be listed under the Non-Recurring Billables tab. This report will also indicate whether items have been billed back on a ticket.
- Authorized users may also have the ability to add a Non-Recurring Billable directly to the Job by using the Add New Item button. NRBs can also be edited from this tab. For more information see: How to Edit Non-Recurring Billable Items (NRBs).
How to Close and Re-open a Job
Closing a Job will prevent users from creating any new Job-related forms (Tickets, Crew Timesheets, Purchase Orders and Change Orders) and give the Job a status of Finished. Invoices can still be created for closed Jobs.
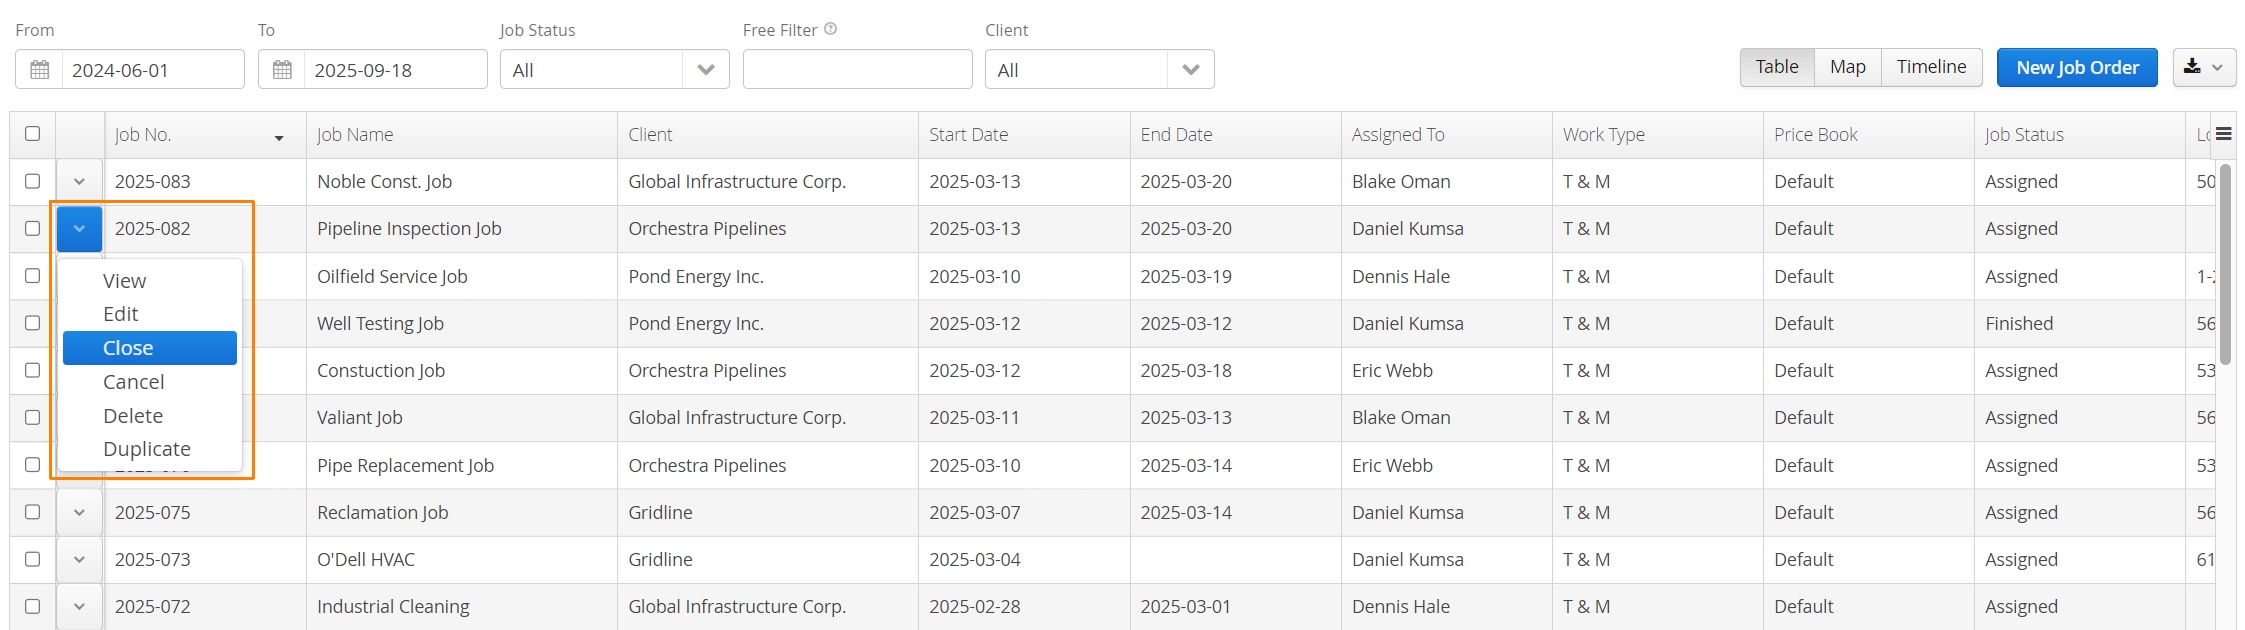
Navigate to the Jobs page. Select the Job that is finished, click the action button to the left of the Job and select Close.
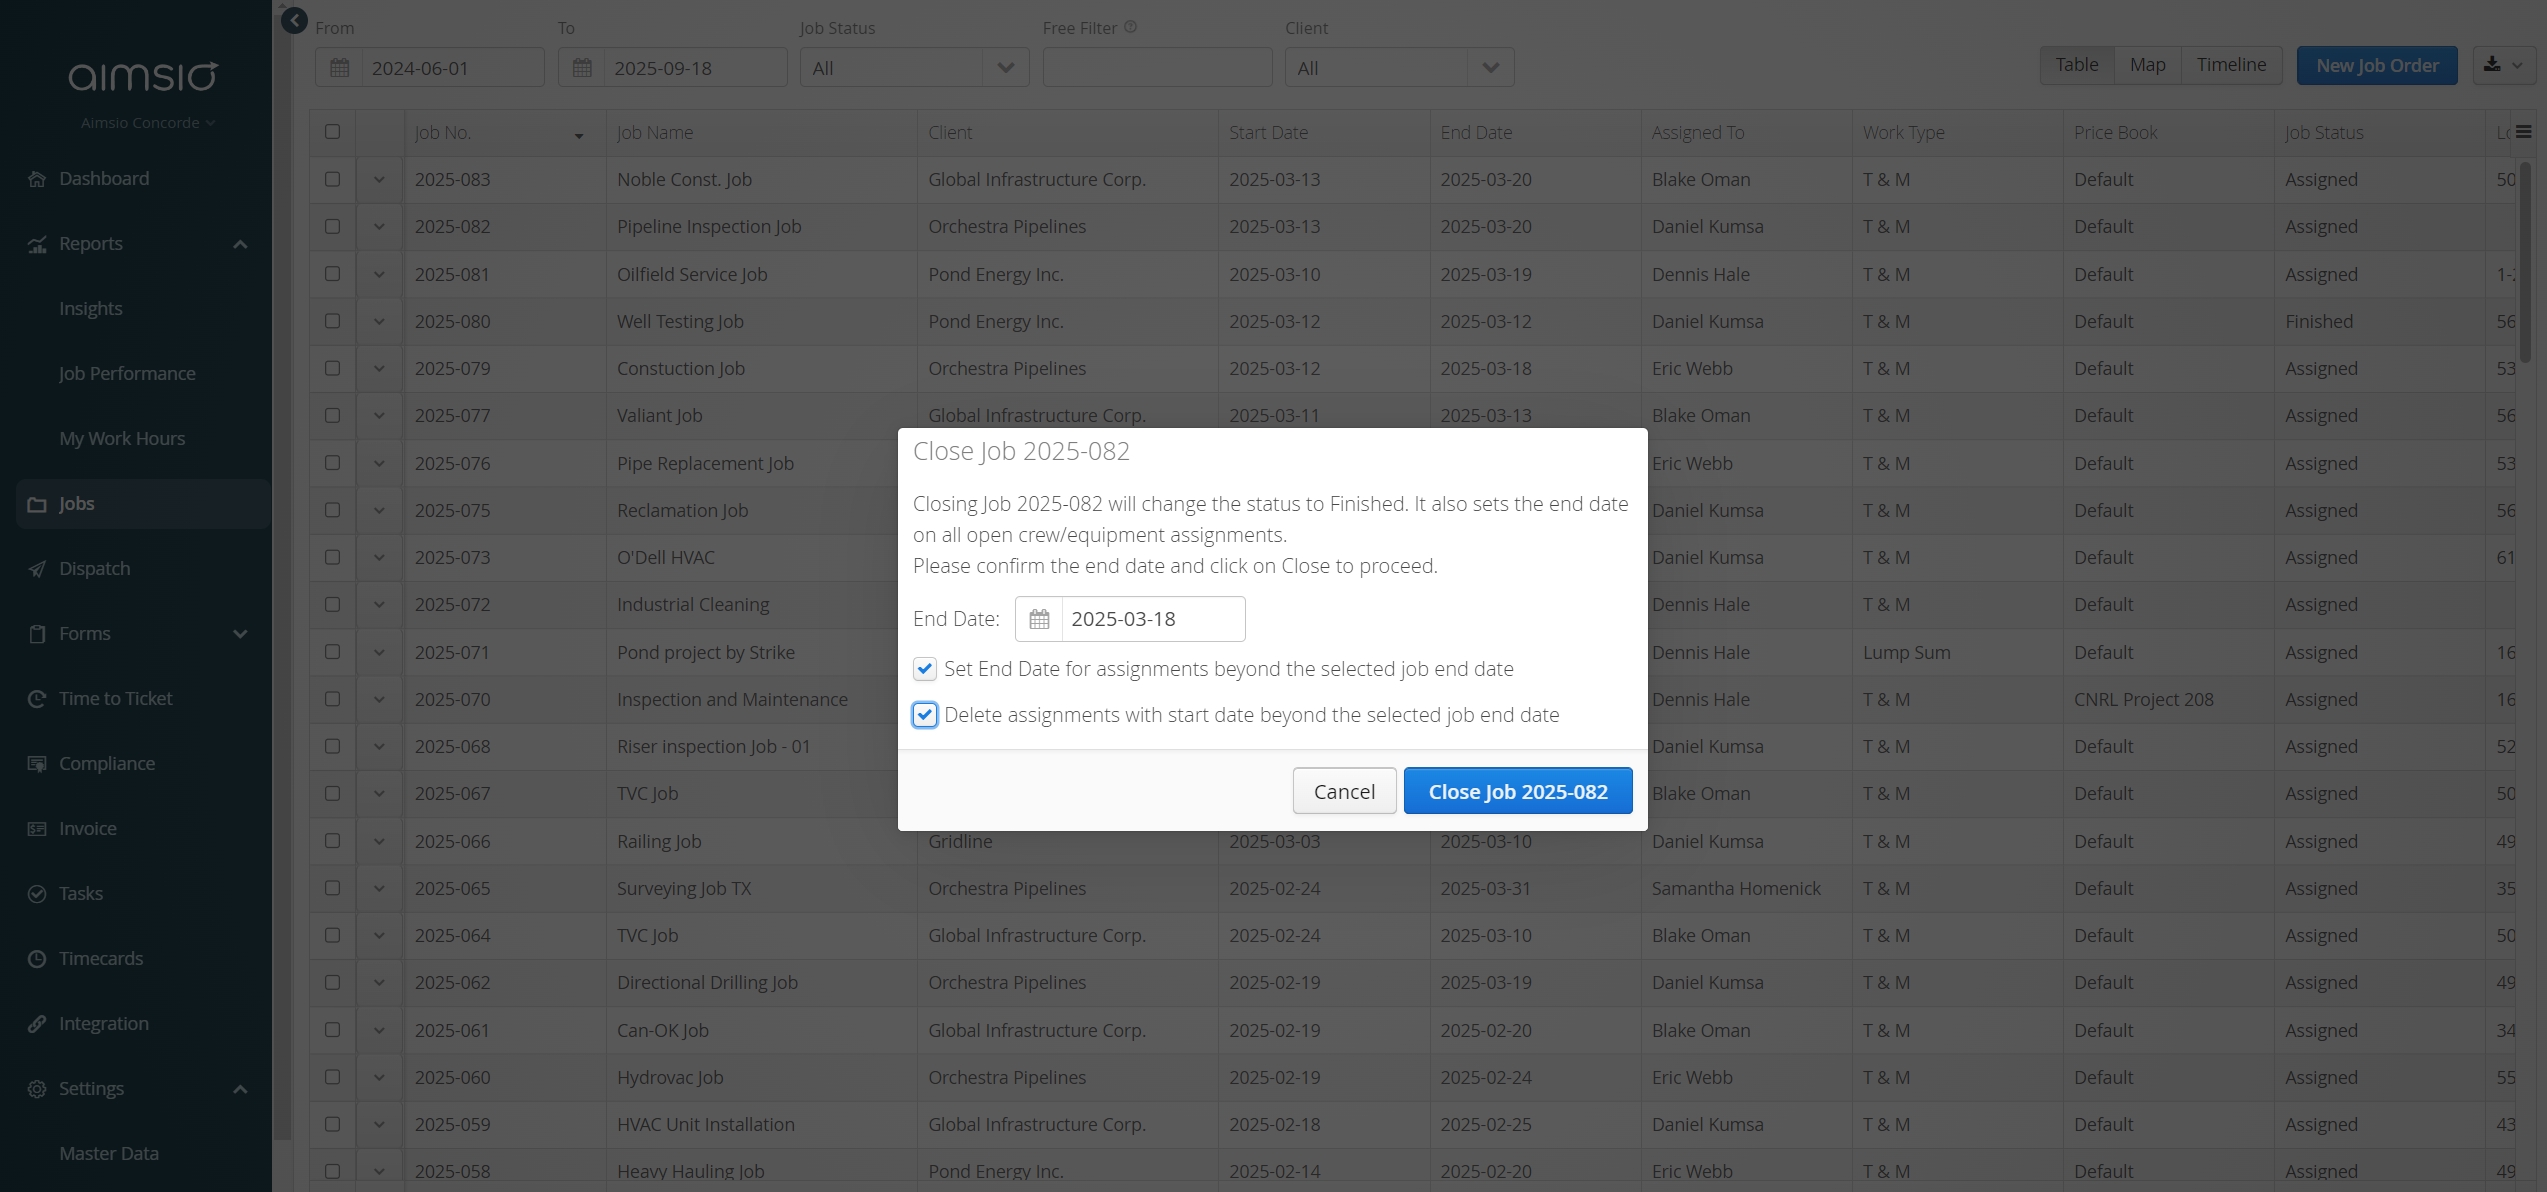
- Closing a Job will apply an End Date to the Job and end any active Dispatch assignments. Confirm you would like to close by selecting Close Job (Job Name). This will also apply a ‘Finished’ status to the Job.
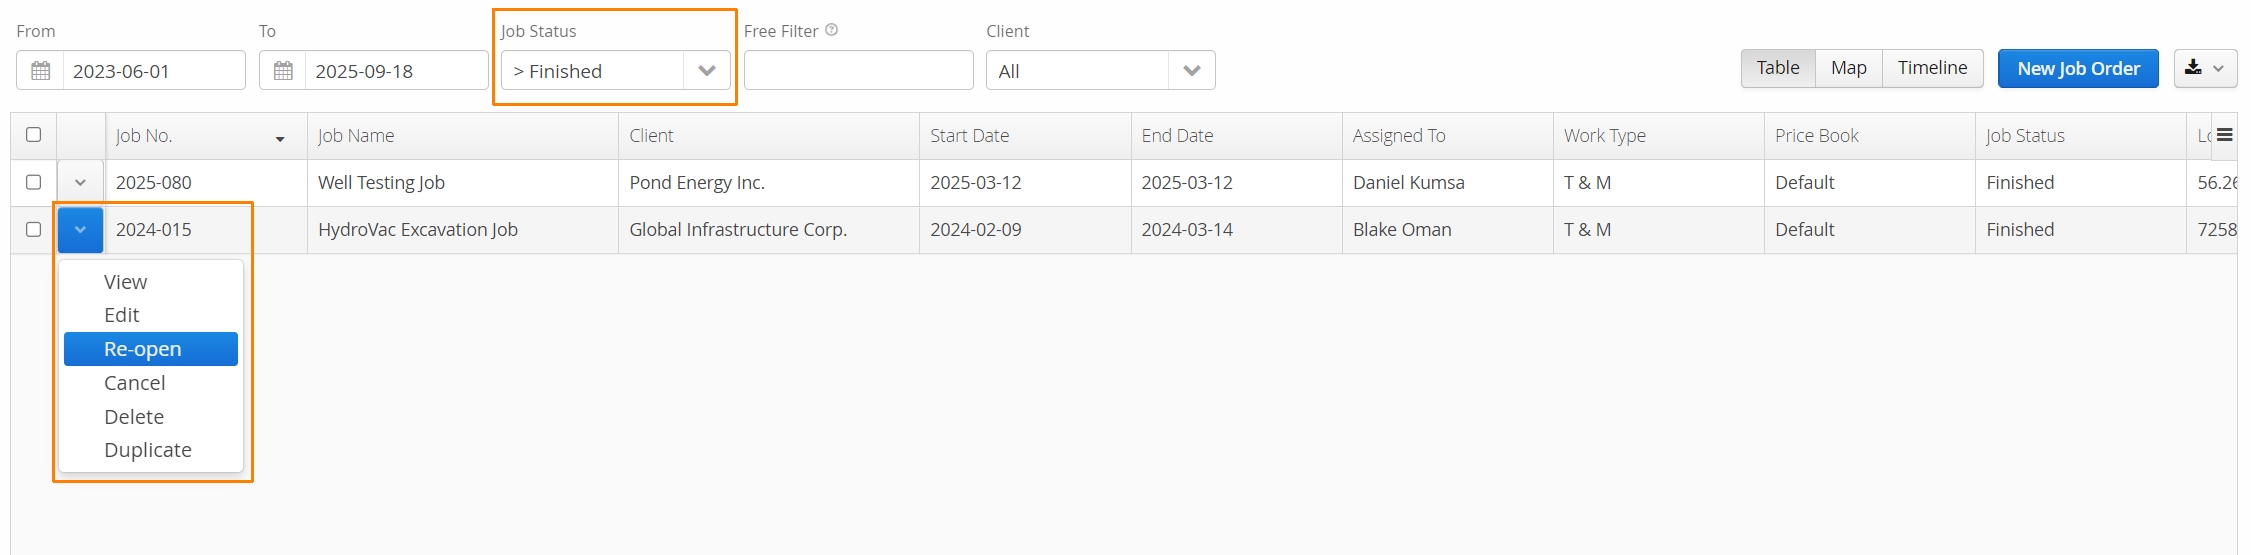
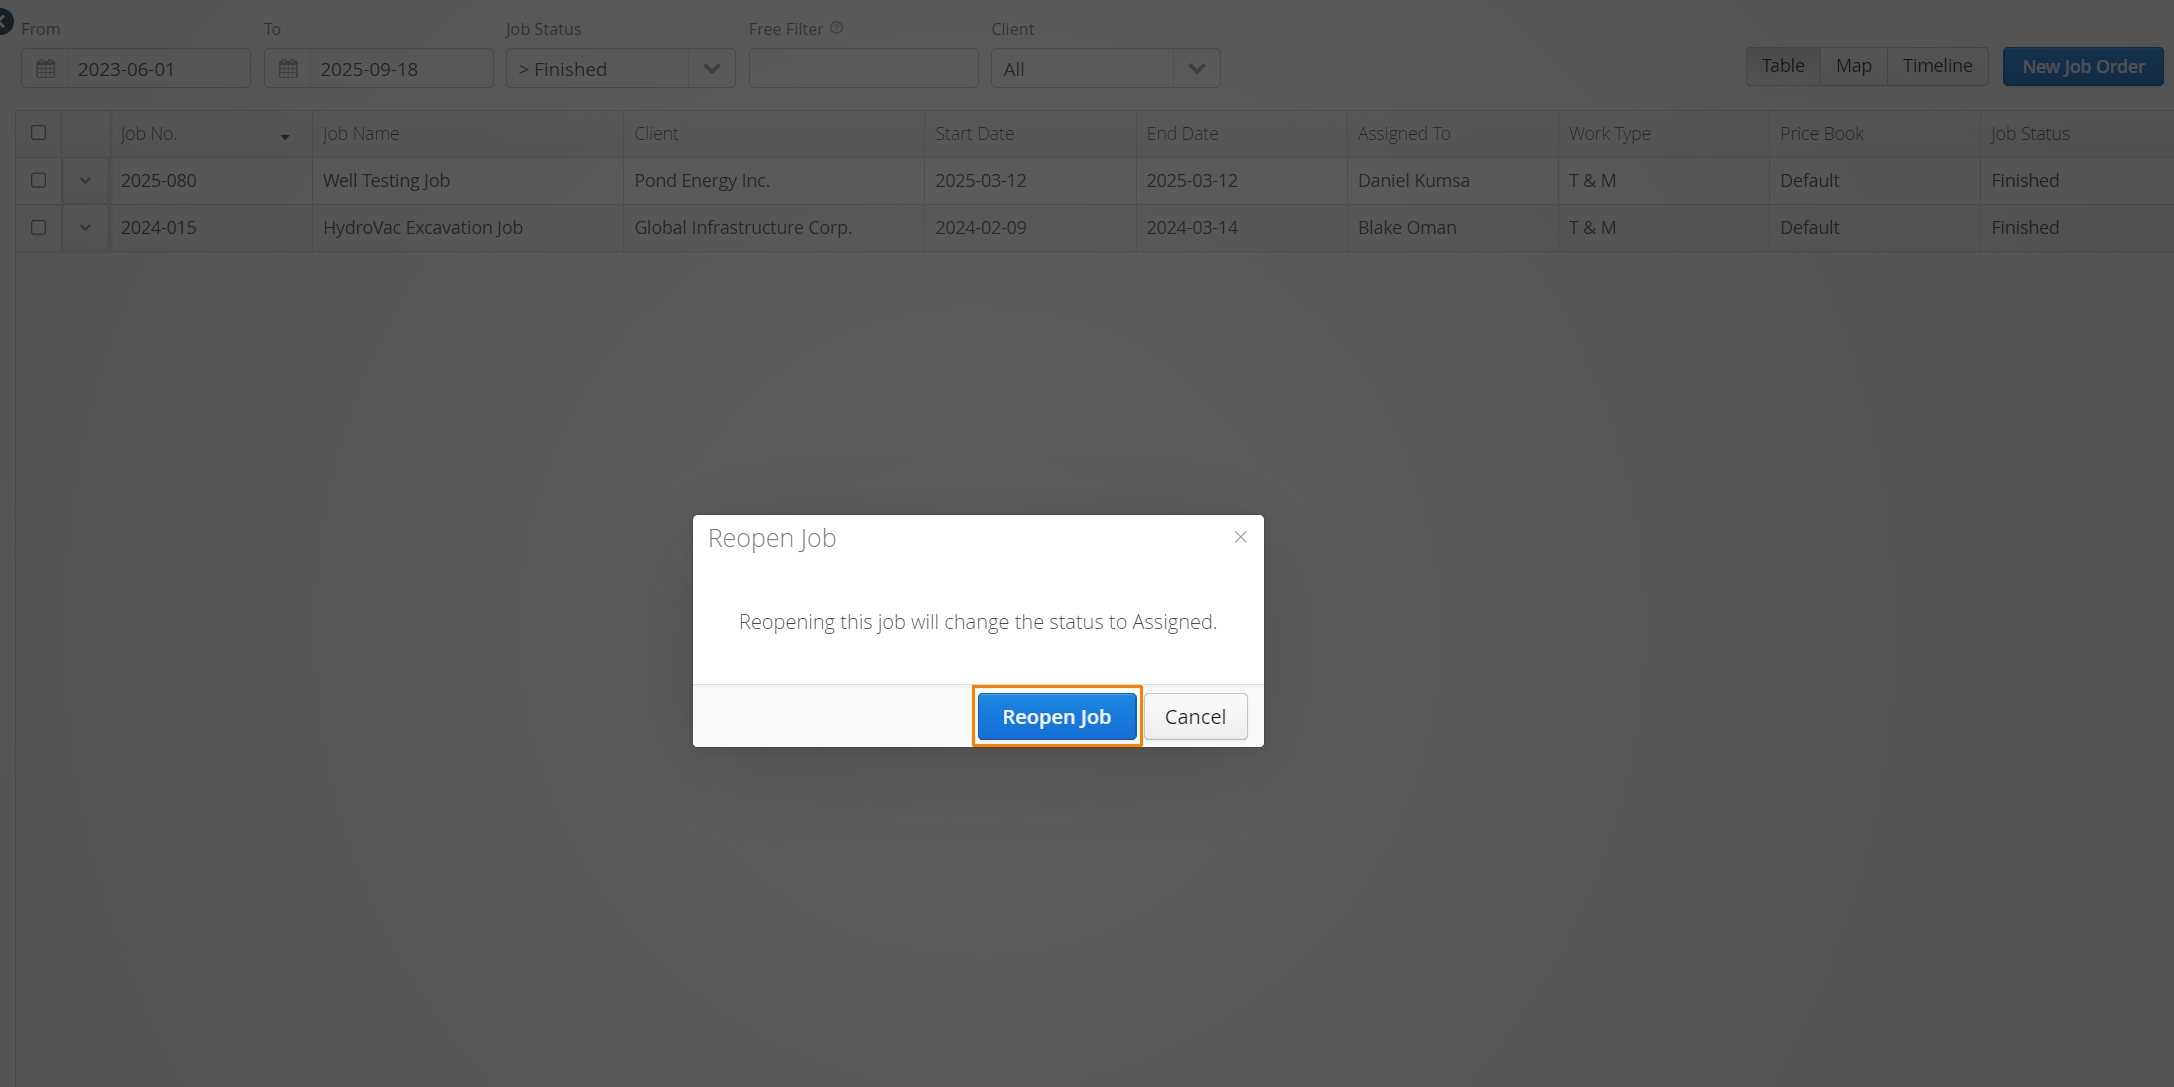
- To Re-open a job, find or filter your list of Finished jobs, use the action menu and select Re-Open.
- Confirm you want to Re-Open the job.
Jobs Table, Map & Timeline
Aimsio provides three possible display formats for your job listing: Table, Map and Timeline. These buttons are located on the far right beside the New Job button.
Aimsio’s tabular view is set by default and lists your jobs in the ascending order of your Job numbers. Tabular views can be sorted in ascending or descending order by clicking any column header.
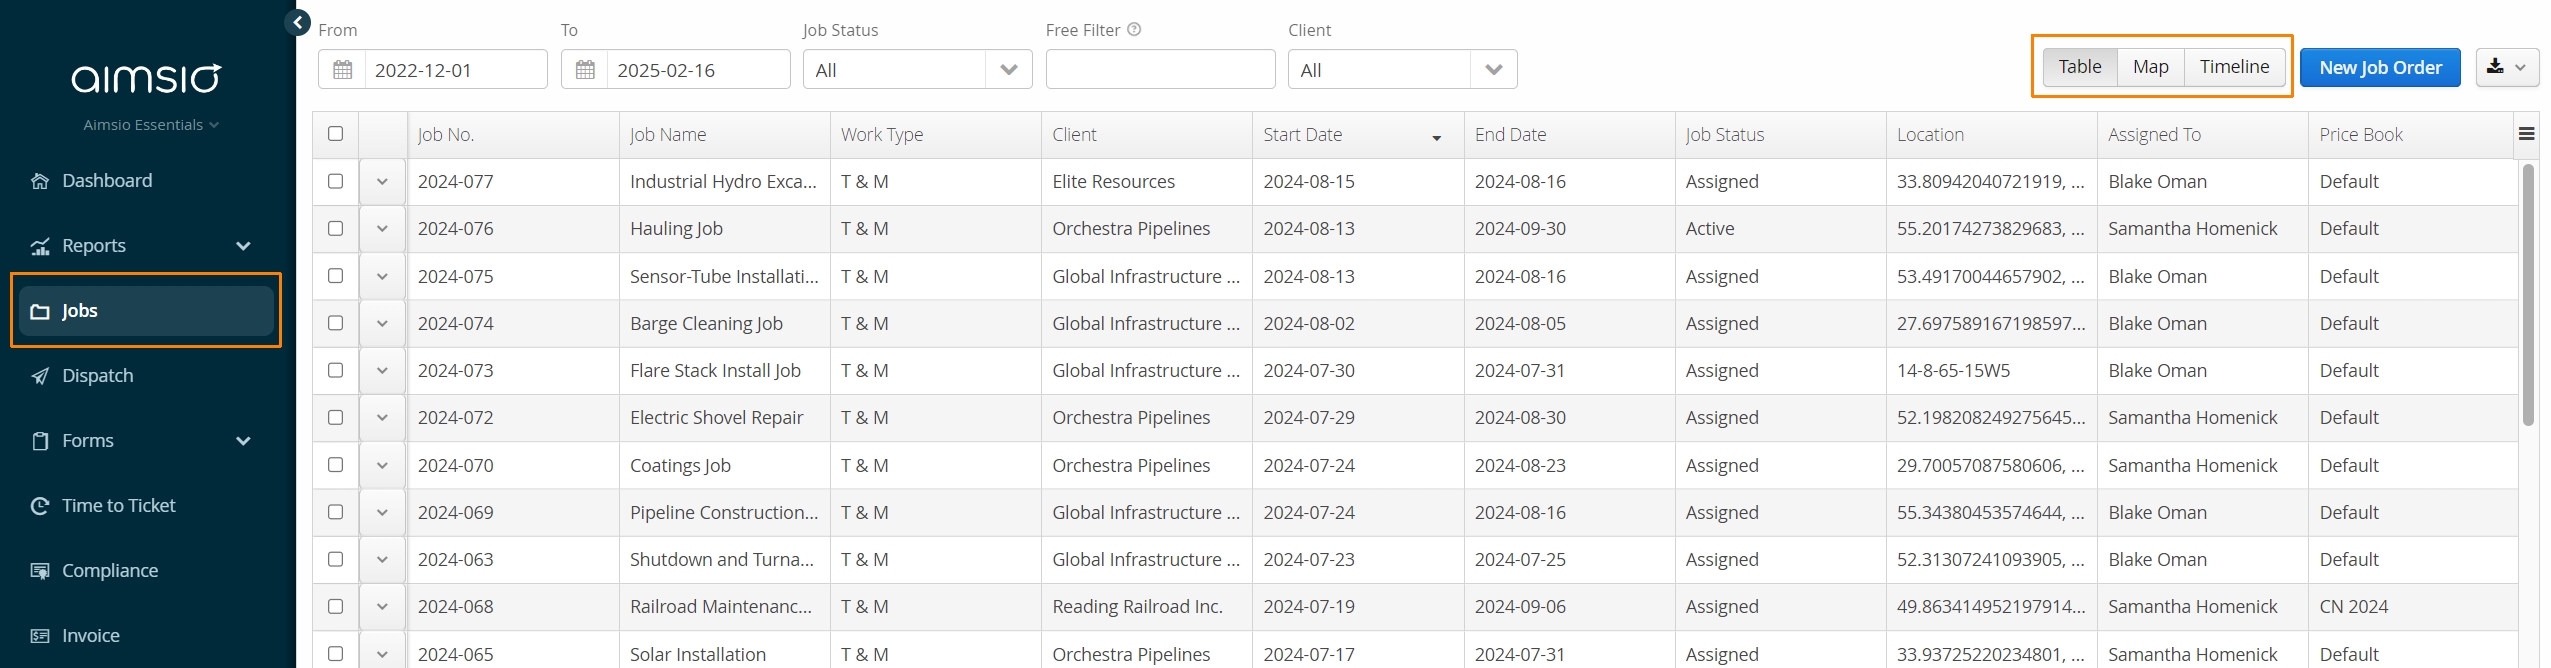
Columns can also be arranged to a user’s preference. For more information please see: How to Customize Report Layouts
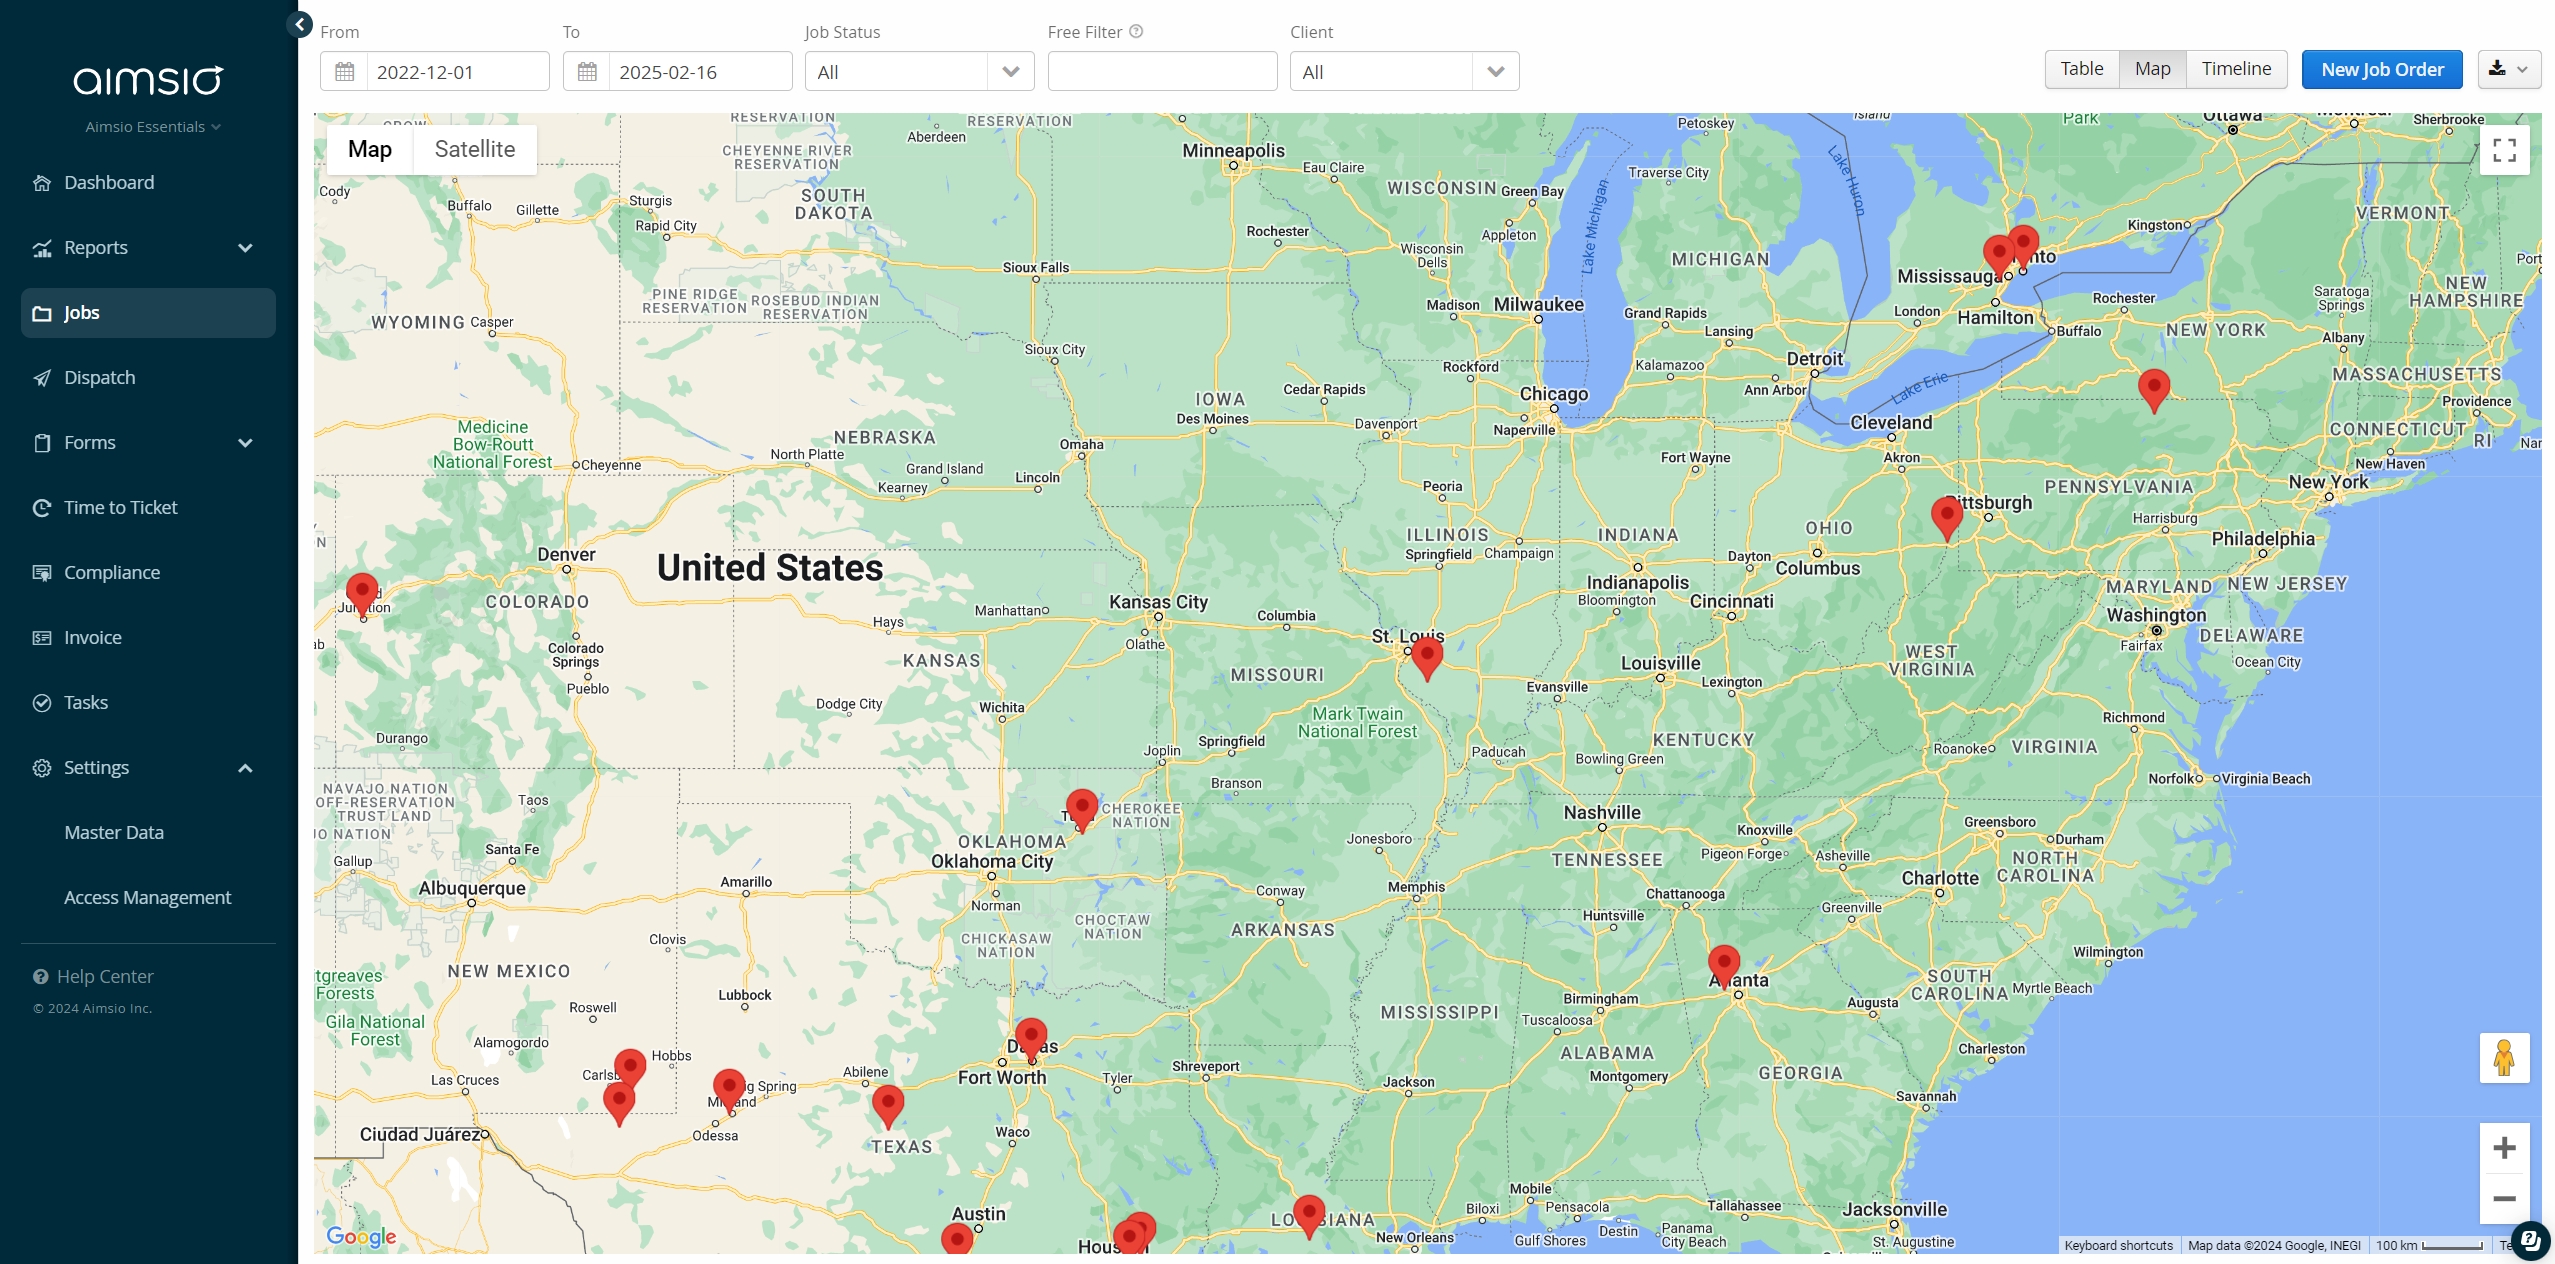
The Map view will take into account any LSD coordinates inputted for your various jobs and provide a Google Maps view of each job site.
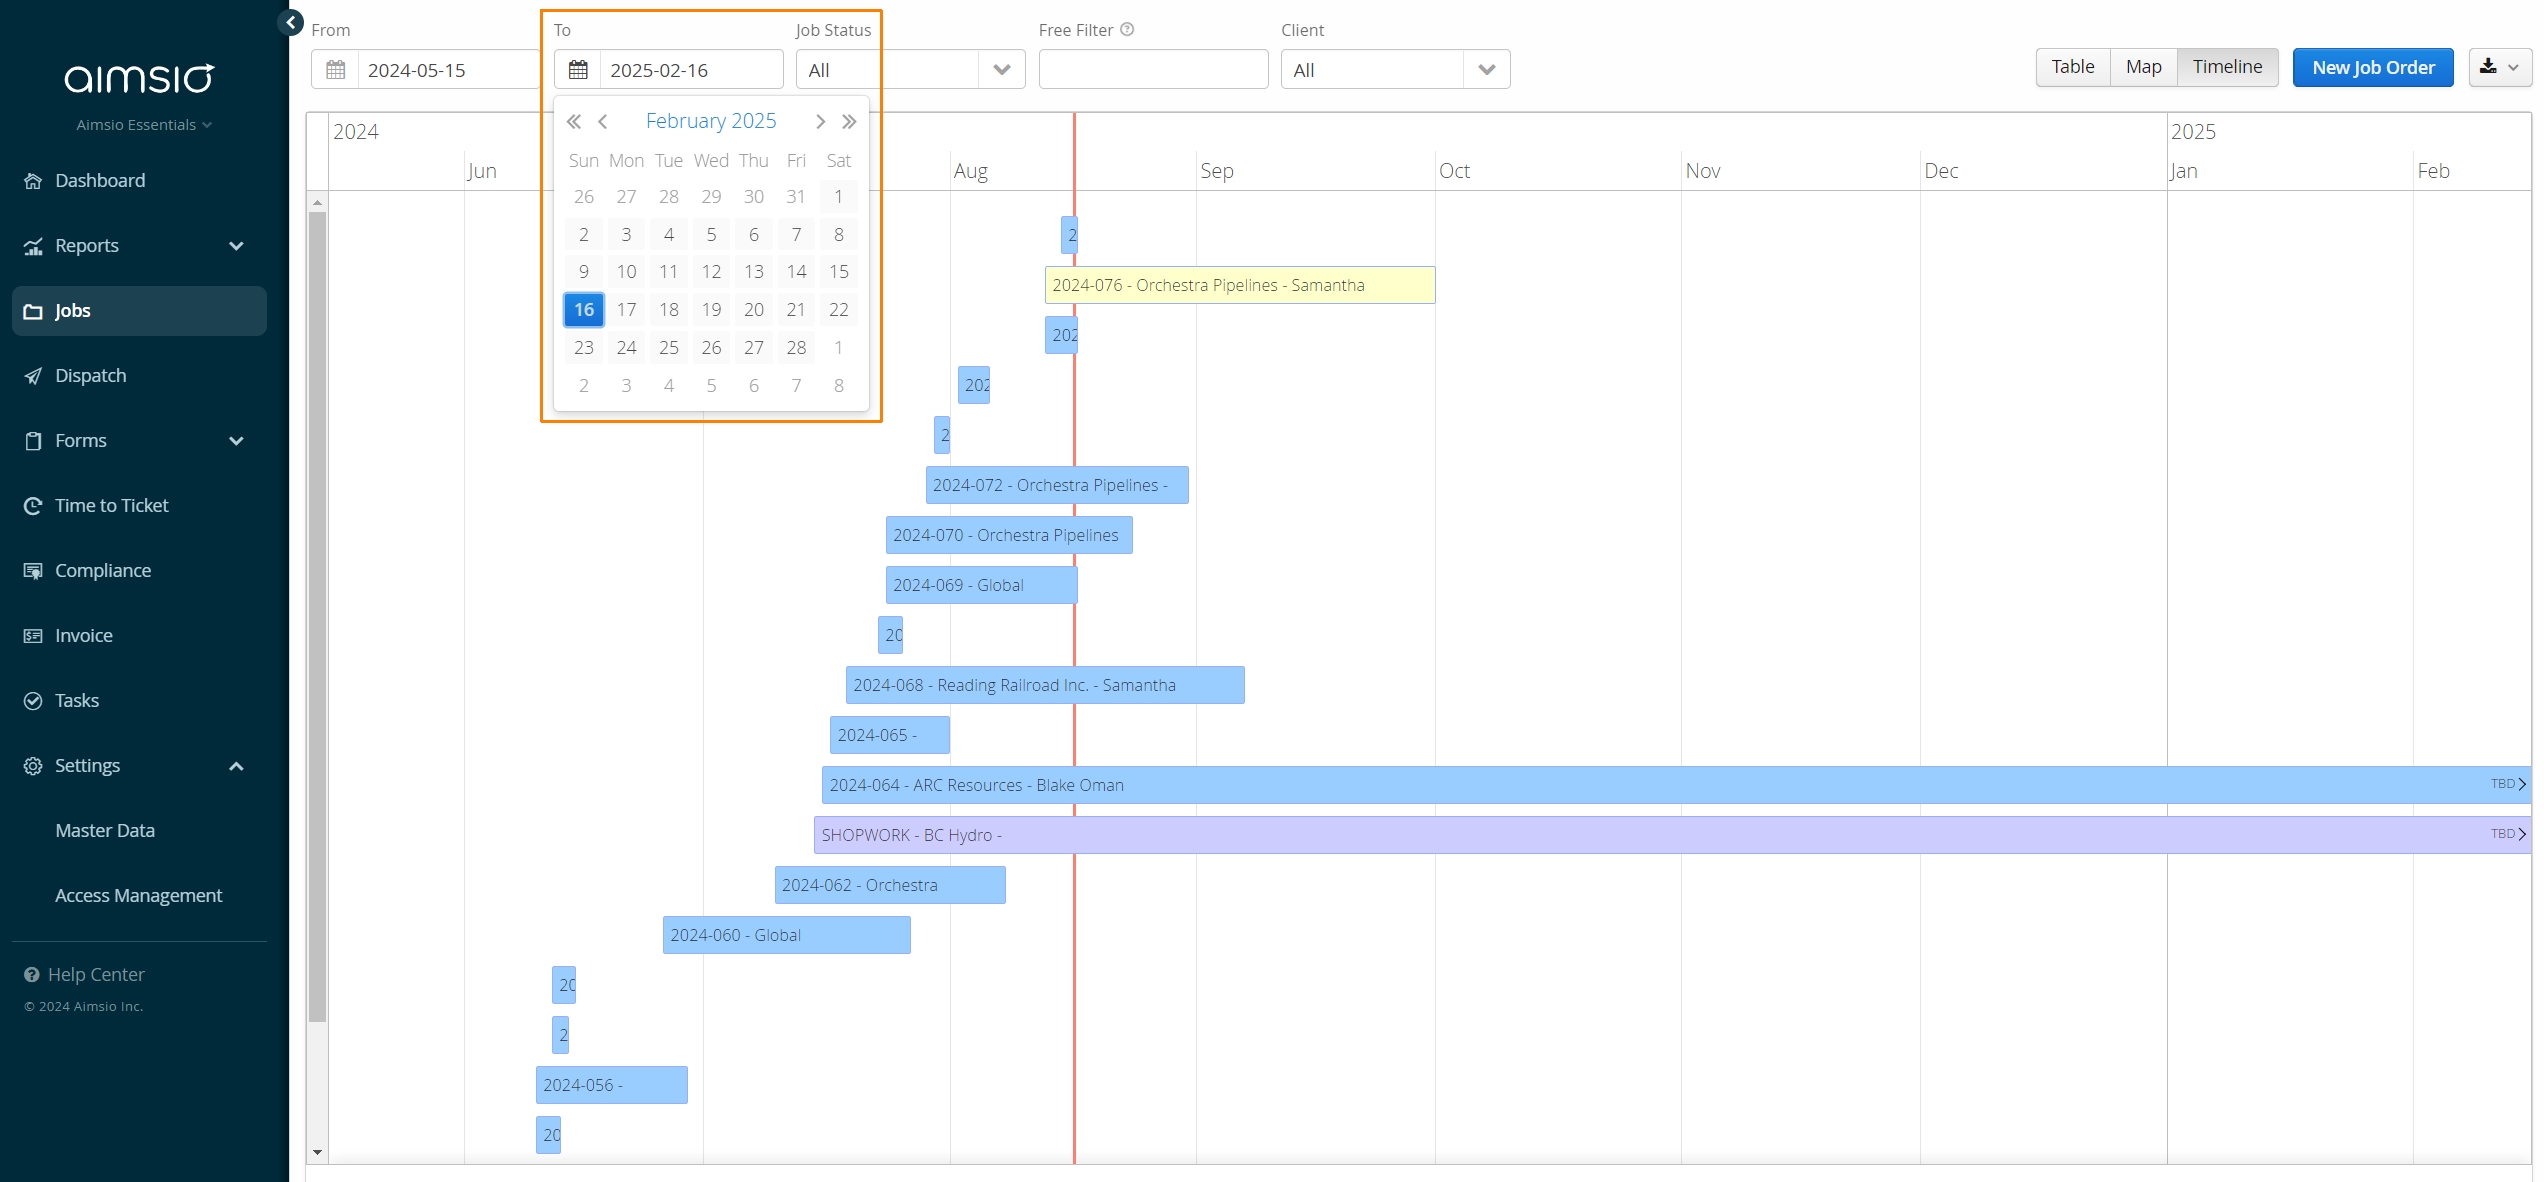
The Timeline view will leverage the Start Date and End Date fields on your Job Orders to present your Jobs in a Gantt Chart format.
Jobs on Mobile
Aimsio’s default behavior is to present a list of Jobs strictly to mobile users that have been assigned and are responsible for the oversight of a project in the field.
If required, additional roles can be created in Aimsio to support circumstances where additional field users may require access to information. Once a Job is Closed / Finished, they are hidden from the list to ensure field users can focus on their current responsibilities. This also cuts down on the potential for data conflicts with your team at the office.
For more information on how users interact with Aimsio in the field, please see: